
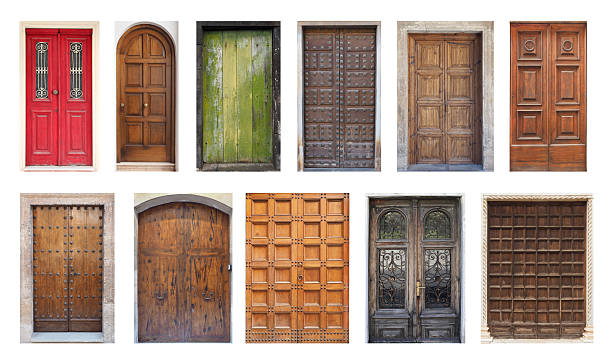
Restoring an old door is not just a budget-friendly way to enhance your home—it’s also a chance to add charm and character that a brand-new door simply can’t replicate. Whether it’s an exterior wood door that’s weathered by the elements or an interior door with peeling paint and worn edges, bringing it back to life can transform the overall aesthetic of your space.
In this guide, we’ll cover everything you need to know about restoring old doors, from prepping the surface to applying the perfect finish. You’ll learn how to tackle common issues like cracks, layers of old paint, and damaged door hardware, all while preserving the unique beauty of the door’s original design.
Ready to give your old door a second chance to shine? Let’s dive in and get started on your DIY vintage door makeover!
Assessing the Door’s Condition
Before diving into the restoration process, it’s crucial to understand what you’re working with. Every old door has its own quirks, and a proper assessment helps you plan the project effectively.
1. Inspect the Door for Damage
- Check for cracks, rot, or warping in the wood. Structural issues may require extra steps, like using epoxy or replacing sections of wood.
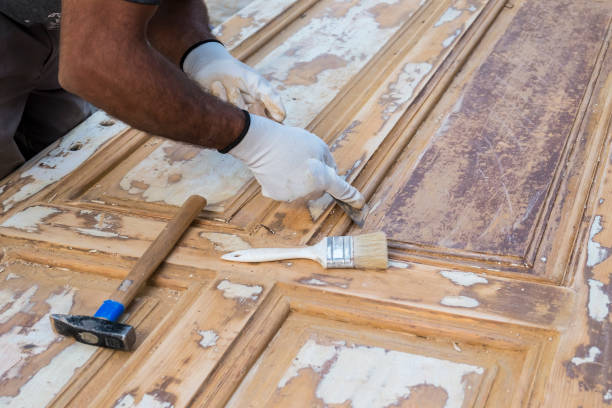
- Look for peeling paint, layers of old paint, or an existing finish that needs to be removed.
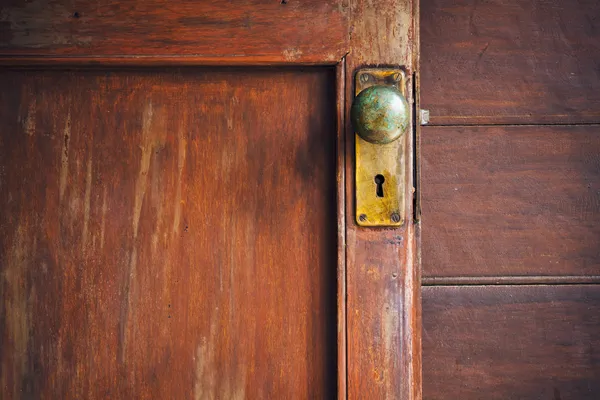
2. Evaluate the Door Hardware
- Are the hinges and knobs still functional? Some pieces might just need a bit of cleaning or polishing, while others may require replacing with matching vintage-style hardware.
3. Test for Lead Paint
- If the door is older, there’s a chance it has lead paint. Use a lead testing kit to ensure safety before sanding or stripping.
4. Identify the Type of Wood
- Knowing whether it’s softwood or hardwood helps you choose the right products and tools. Pay attention to any decorative or intricate details that need extra care during the restoration process.
By carefully inspecting your wood door, you’ll avoid surprises later and ensure the restoration process goes smoothly. Up next, we’ll dive into the first major step—cleaning and preparing the surface!
Preparing Your Workspace
Before starting your door restoration project, set up a proper workspace. A well-organized area ensures easy access to all your tools and materials while promoting safety. Use paint strippers in well-ventilated areas to minimize inhalation of fumes. A tidy workspace will make the process smoother and more efficient.
To start, you’ll need to gather all the necessary tools and materials and prepare the door by removing its hardware. This preparation will set the stage for a successful restoration project.
Gathering Necessary Tools and Materials
Before:
For a successful restoration project, gather the necessary tools. You’ll need a power sander and a sanding block to effectively sand and smooth the door’s surface. A heavy-duty flathead screwdriver is required for removing the hardware. A heat gun can also be useful for stripping old paint without chemicals, offering a cleaner process.
After:


To successfully complete a restoration project, gather the necessary tools:
- A power sander and a sanding block to effectively sand and smooth the door’s surface
- A heavy-duty flathead screwdriver for removing the hardware
- A heat gun for stripping old paint without chemicals, offering a cleaner process
Remember to wear protective gear such as rubber gloves, safety glasses, and a dust mask to shield yourself from harmful dust and fumes.
Gather various sandpaper grits, wood filler for repairs, and possibly matching wood for larger fixes. With these tools and materials, you’ll be ready to start your restoration project.
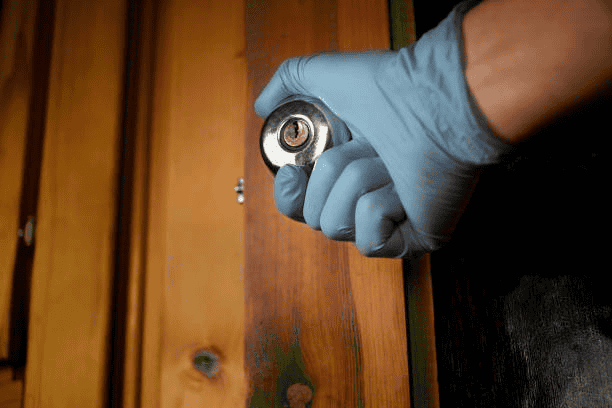
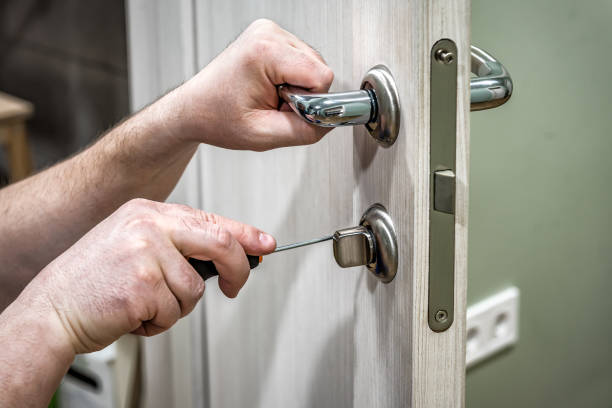
Removing Door Hardware
Begin the restoration by removing all door hardware, including the handle, deadbolt cylinder, mail slot, knocker, kick plate, and hinges. This simplifies the process and ensures a better-finished look. Use a heavy-duty flathead screwdriver to detach the hardware, and tap the hinge pins upwards to remove them.
After removing the hardware, label and store each piece properly to ease reassembly later. With the hardware removed, you can start stripping the old paint and finish.
Clean the Door Thoroughly
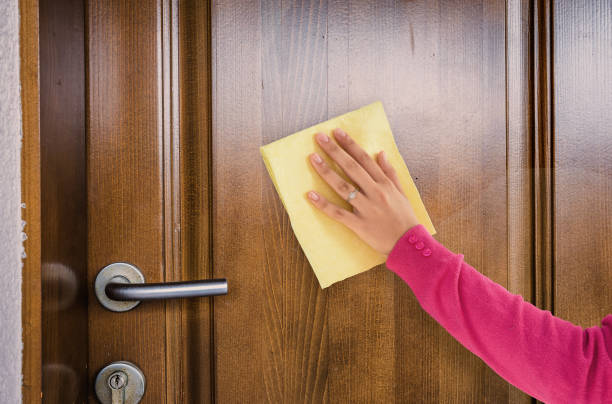
- Use a damp cloth with mild soap to remove dirt, grime, and surface buildup. For stubborn spots, a mixture of baking soda and water works wonders.
- Avoid soaking the wood—too much moisture can damage the bare wood or seep into cracks.
Protect Yourself

- Always wear protective gear, like gloves and a dust mask, when working with old finishes or paint thinner. If you suspect lead paint, handle it with extra care and follow safety guidelines.
Proper cleaning and preparation ensure that your restoration project starts on the right foot. Once the surface is clean and prepped, we can move on to removing the existing finish or sanding down to reveal the natural beauty of the wood grain!
Stripping Old Paint and Finish
Stripping the old paint and finish is essential for ensuring the new stain and varnish adhere properly and look their best.
Methods for removing old paint include using paint strippers, a heat gun, and sanding. Each has its pros and cons, and the best choice depends on your specific situation and preferences.
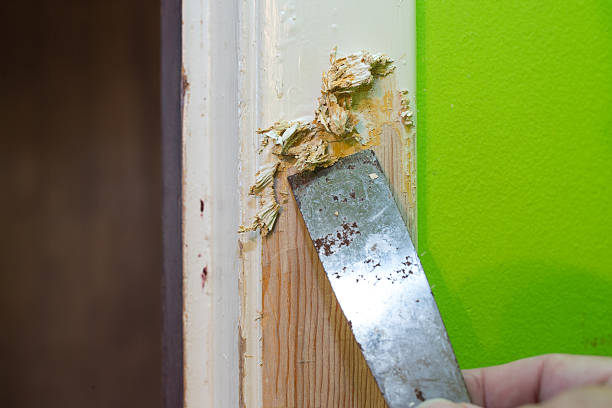
Using Paint Stripper
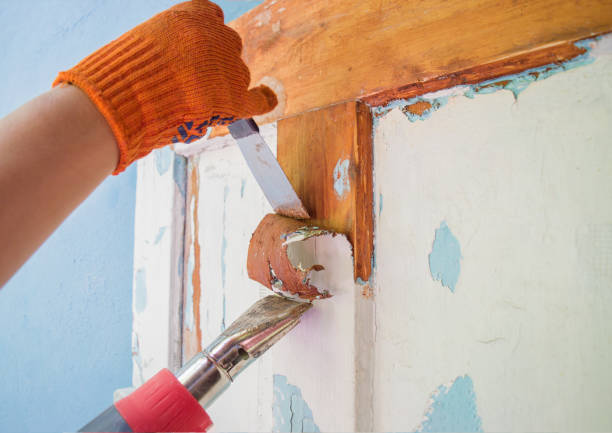
Apply a thick coat of paint stripper to the door and cover it with plastic wrap to prevent drying out. This method is fast but can be slightly toxic, so work in a well-ventilated area and wear protective gear. After the stripper has had time to work, use a scraper to remove the softened paint.
Overusing paint strippers can soften the wood, so follow the manufacturer’s instructions carefully. After stripping the paint, clean the door thoroughly to remove any residue. This ensures the new finish adheres properly and looks even.
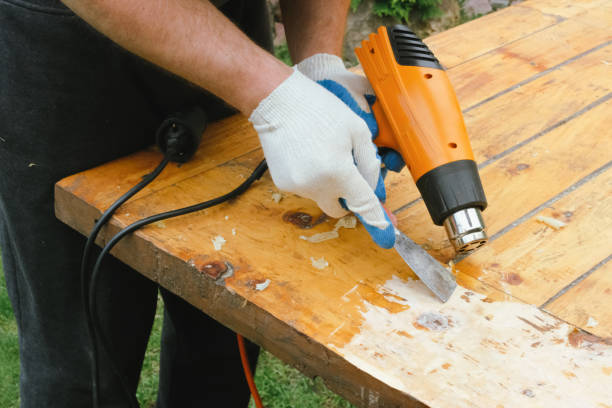
Heat Gun Method
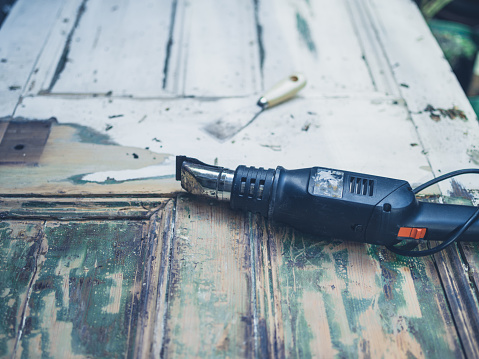
The heat gun method is an alternative to chemical paint strippers. It effectively removes paint without the mess and odor of chemicals. Heat the paint until it bubbles, then scrape it off.
This efficient technique is particularly useful for those who prefer to avoid chemical strippers.
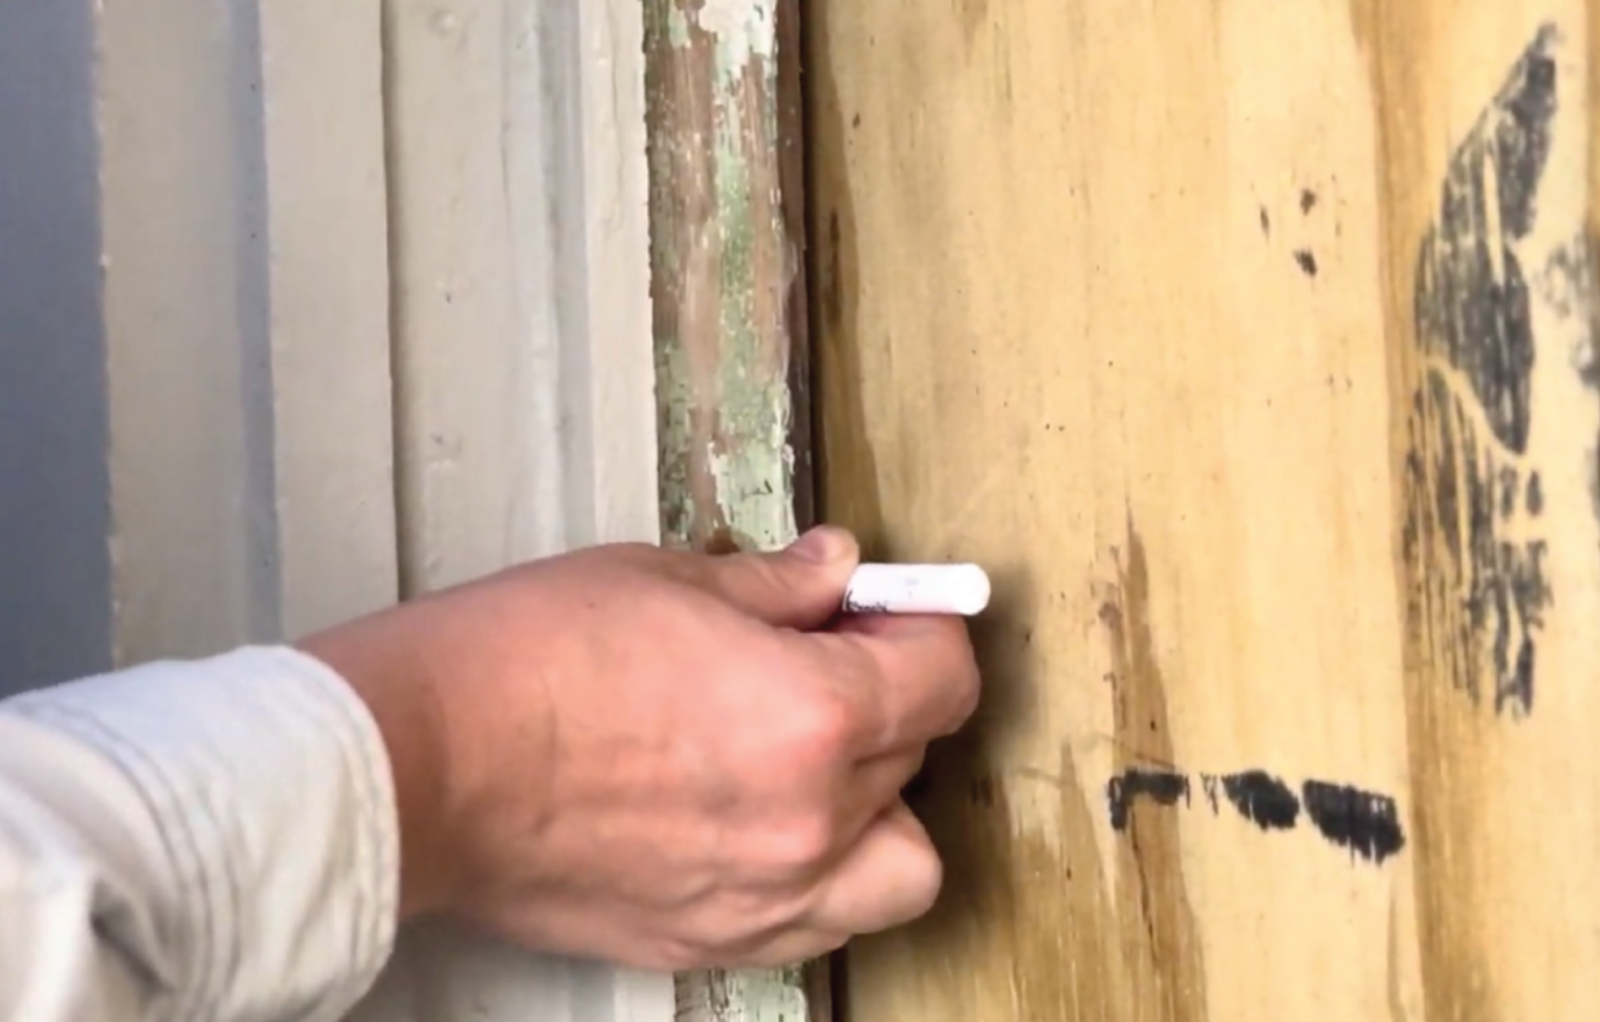
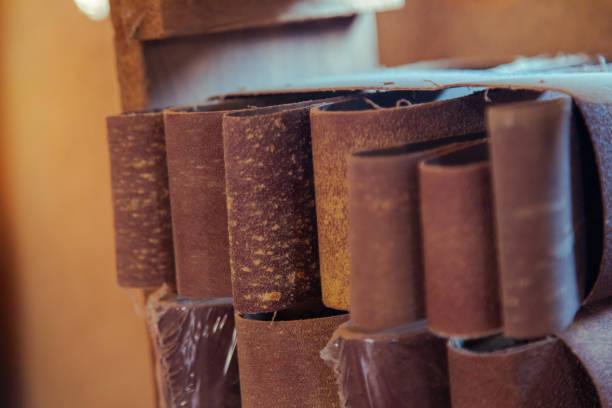
Sanding Down to Bare Wood
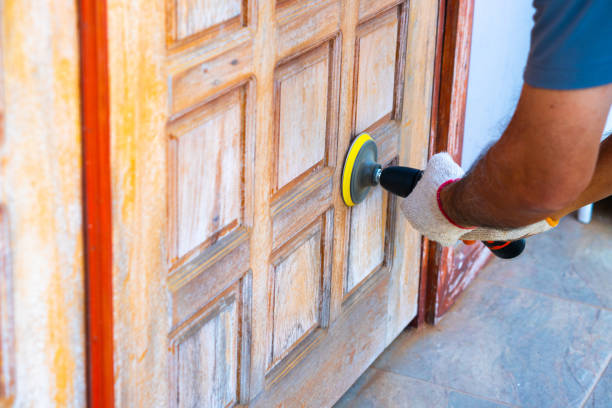
After removing most of the old paint, sand the surface to get down to the bare wood. Start with coarser grit sandpaper to remove any remaining finish, then progress to finer grits for a smooth surface. An orbital sander is useful for this task, while hand sanding is recommended for intricate woodwork details to avoid damage.
Make sure all old finish is removed and the flat surfaces are smooth and even. This is crucial for achieving a professional-looking result when applying the new stain and varnish.
Repairing and Preparing the Door Surface
After removing the old paint and finish, repair any damage to the door’s surface by filling cracks and gouges with wood filler, then smoothing the filled areas.
Proper preparation ensures the new finish adheres well and looks uniform.
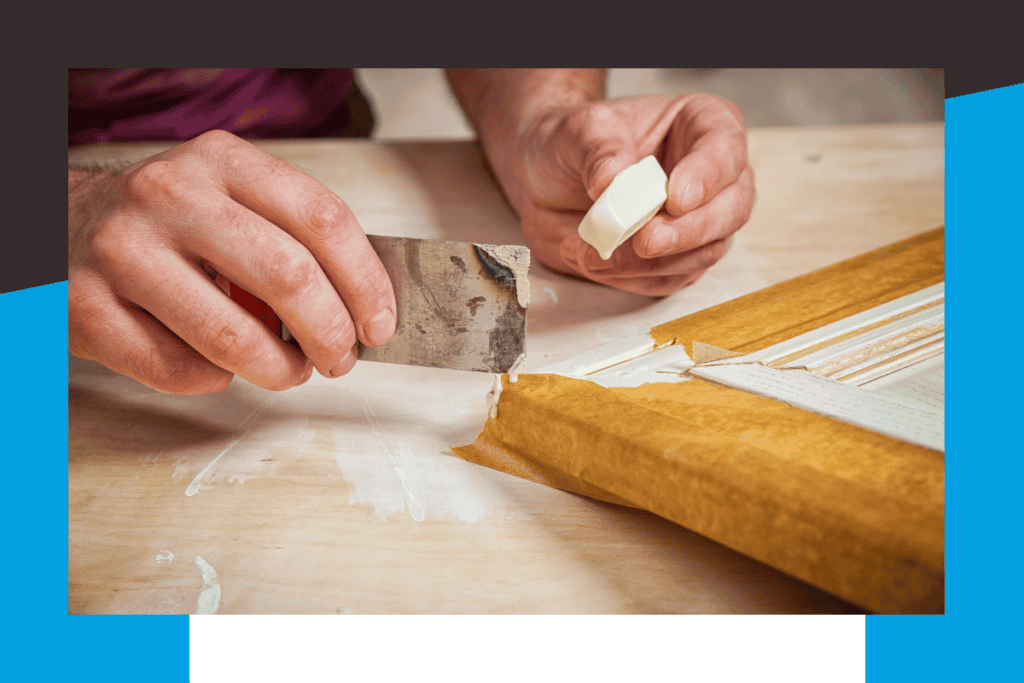
Filling Cracks and Gouges
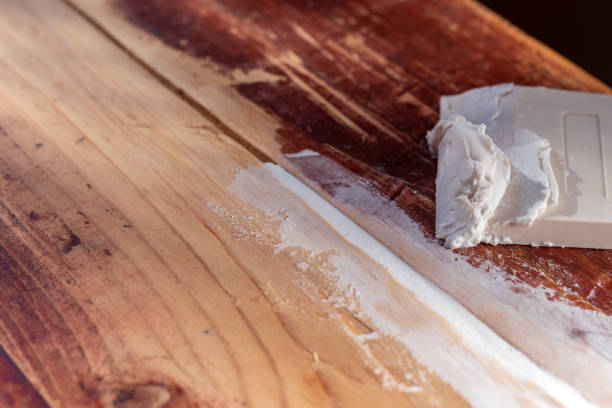
Press wood filler firmly into any cracks or gouges for a secure bond. Scrape off any excess material and allow it to dry completely. This is vital for achieving a smooth and professional finish.
Once the wood filler has dried, sand the filled areas with fine-grit sandpaper to create a smooth surface that blends with the surrounding wood. This ensures the repairs are not noticeable and that the new finish will be even and smooth.
Smoothing Filled Areas
Sand the filled areas to ensure they blend seamlessly with the surrounding wood. Use various sandpaper grits to achieve a smooth finish, and thoroughly remove all dust before staining.
This attention to detail will enhance the final appearance of your restored door.
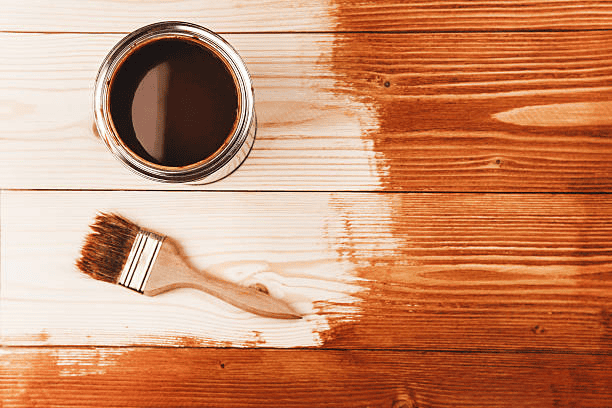
Applying Stain Evenly
Evenly applying stain is key to achieving a beautiful and professional-looking finish. The process involves choosing the right stain, applying it correctly, and ensuring even coverage to avoid lap marks and blotchiness.
Choosing the Right Stain
Choosing the right stain is crucial for achieving the desired look and protection for your door. Consider the wood type, desired color, and protective features when selecting a stain. Different types of wood absorb stain differently, so test the stain on a small hidden area before full application.
The door’s color and finish should harmonize with the overall color scheme and architectural style of your house. This enhances the visual harmony and curb appeal of your home.
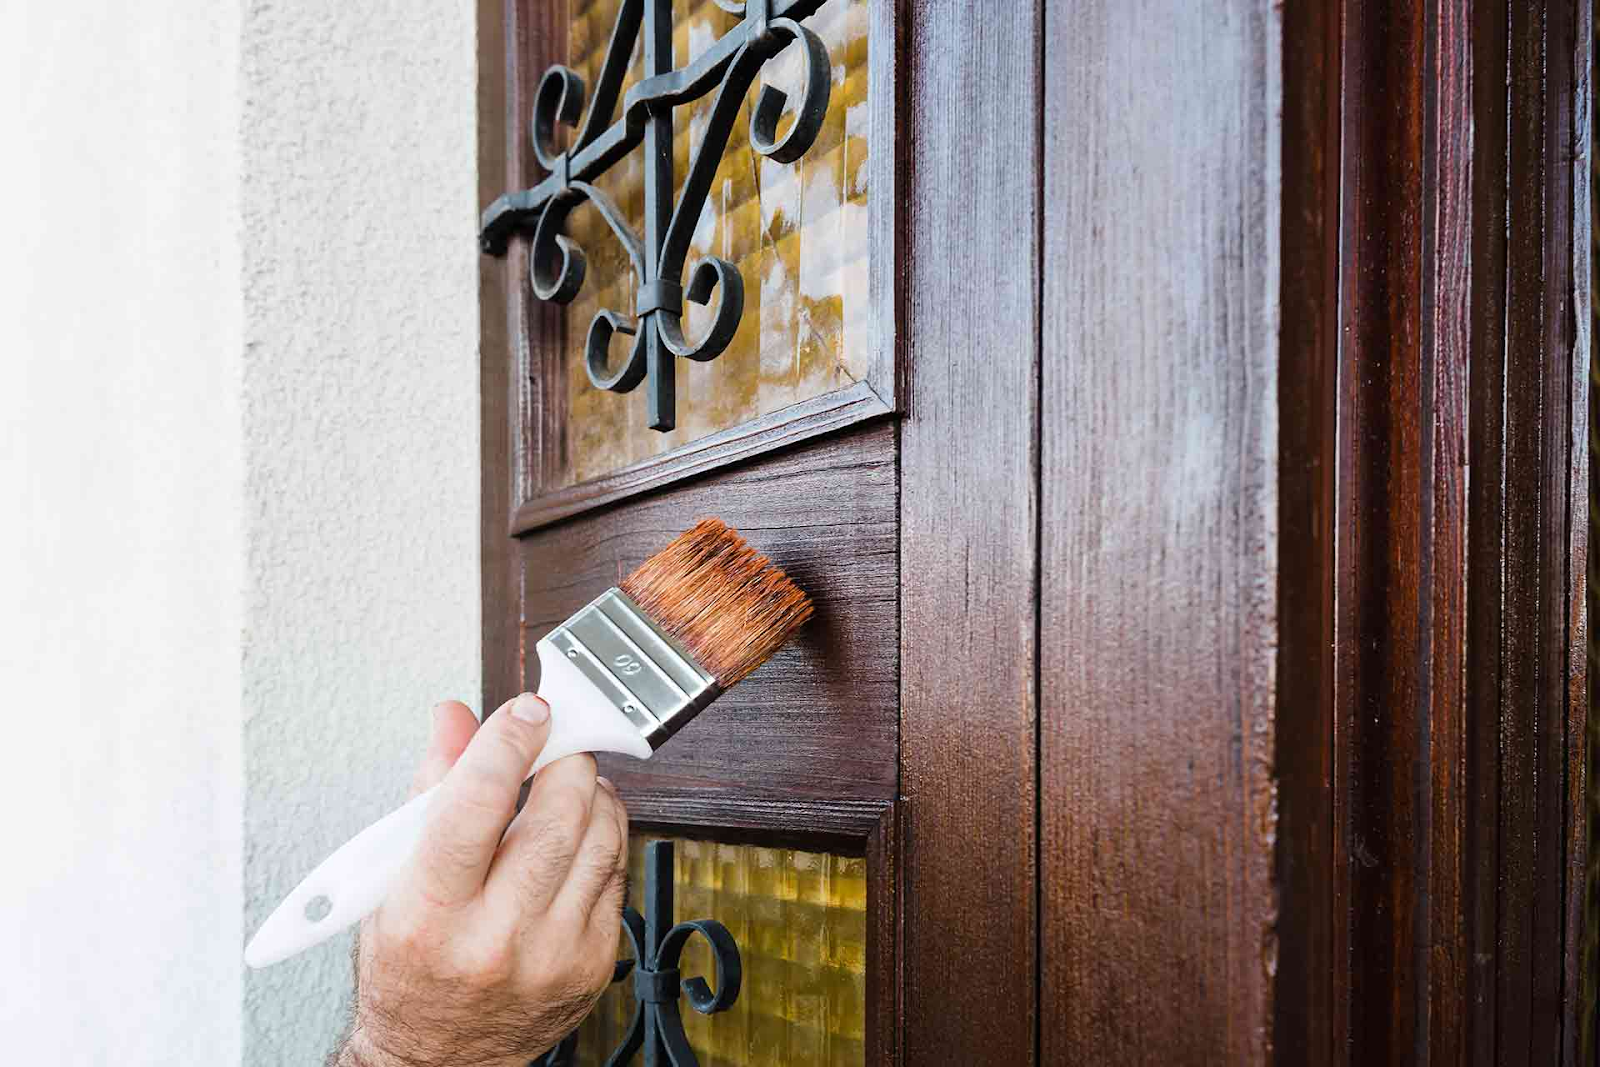
Staining Process
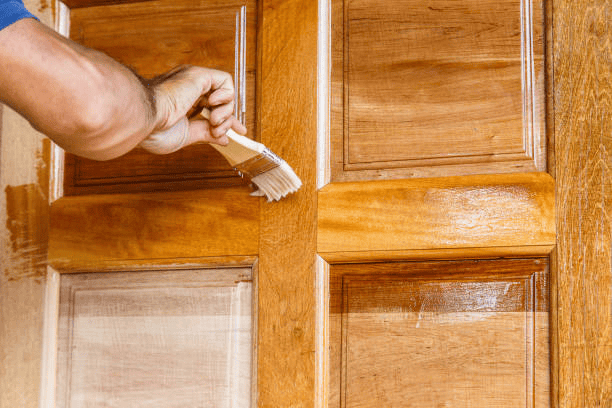
Before applying stain, vacuum away all sawdust and wipe down the door to ensure a clean surface. Use a paintbrush or rag to saturate the wood with the stain, working on small sections at a time to maintain control and prevent drips. Apply with long strokes to ensure even coverage and avoid lap marks.
After applying the stain, wipe off any excess to achieve an even finish and avoid blotchiness. Allow the first coat to dry for 24 hours before applying additional coats.
Protecting Your Door with Varnish
Applying varnish is the final step in protecting your restored door. Varnish shields the wood from UV rays and weather conditions, ensuring your door remains beautiful and durable for years to come.
Selecting Exterior Varnish
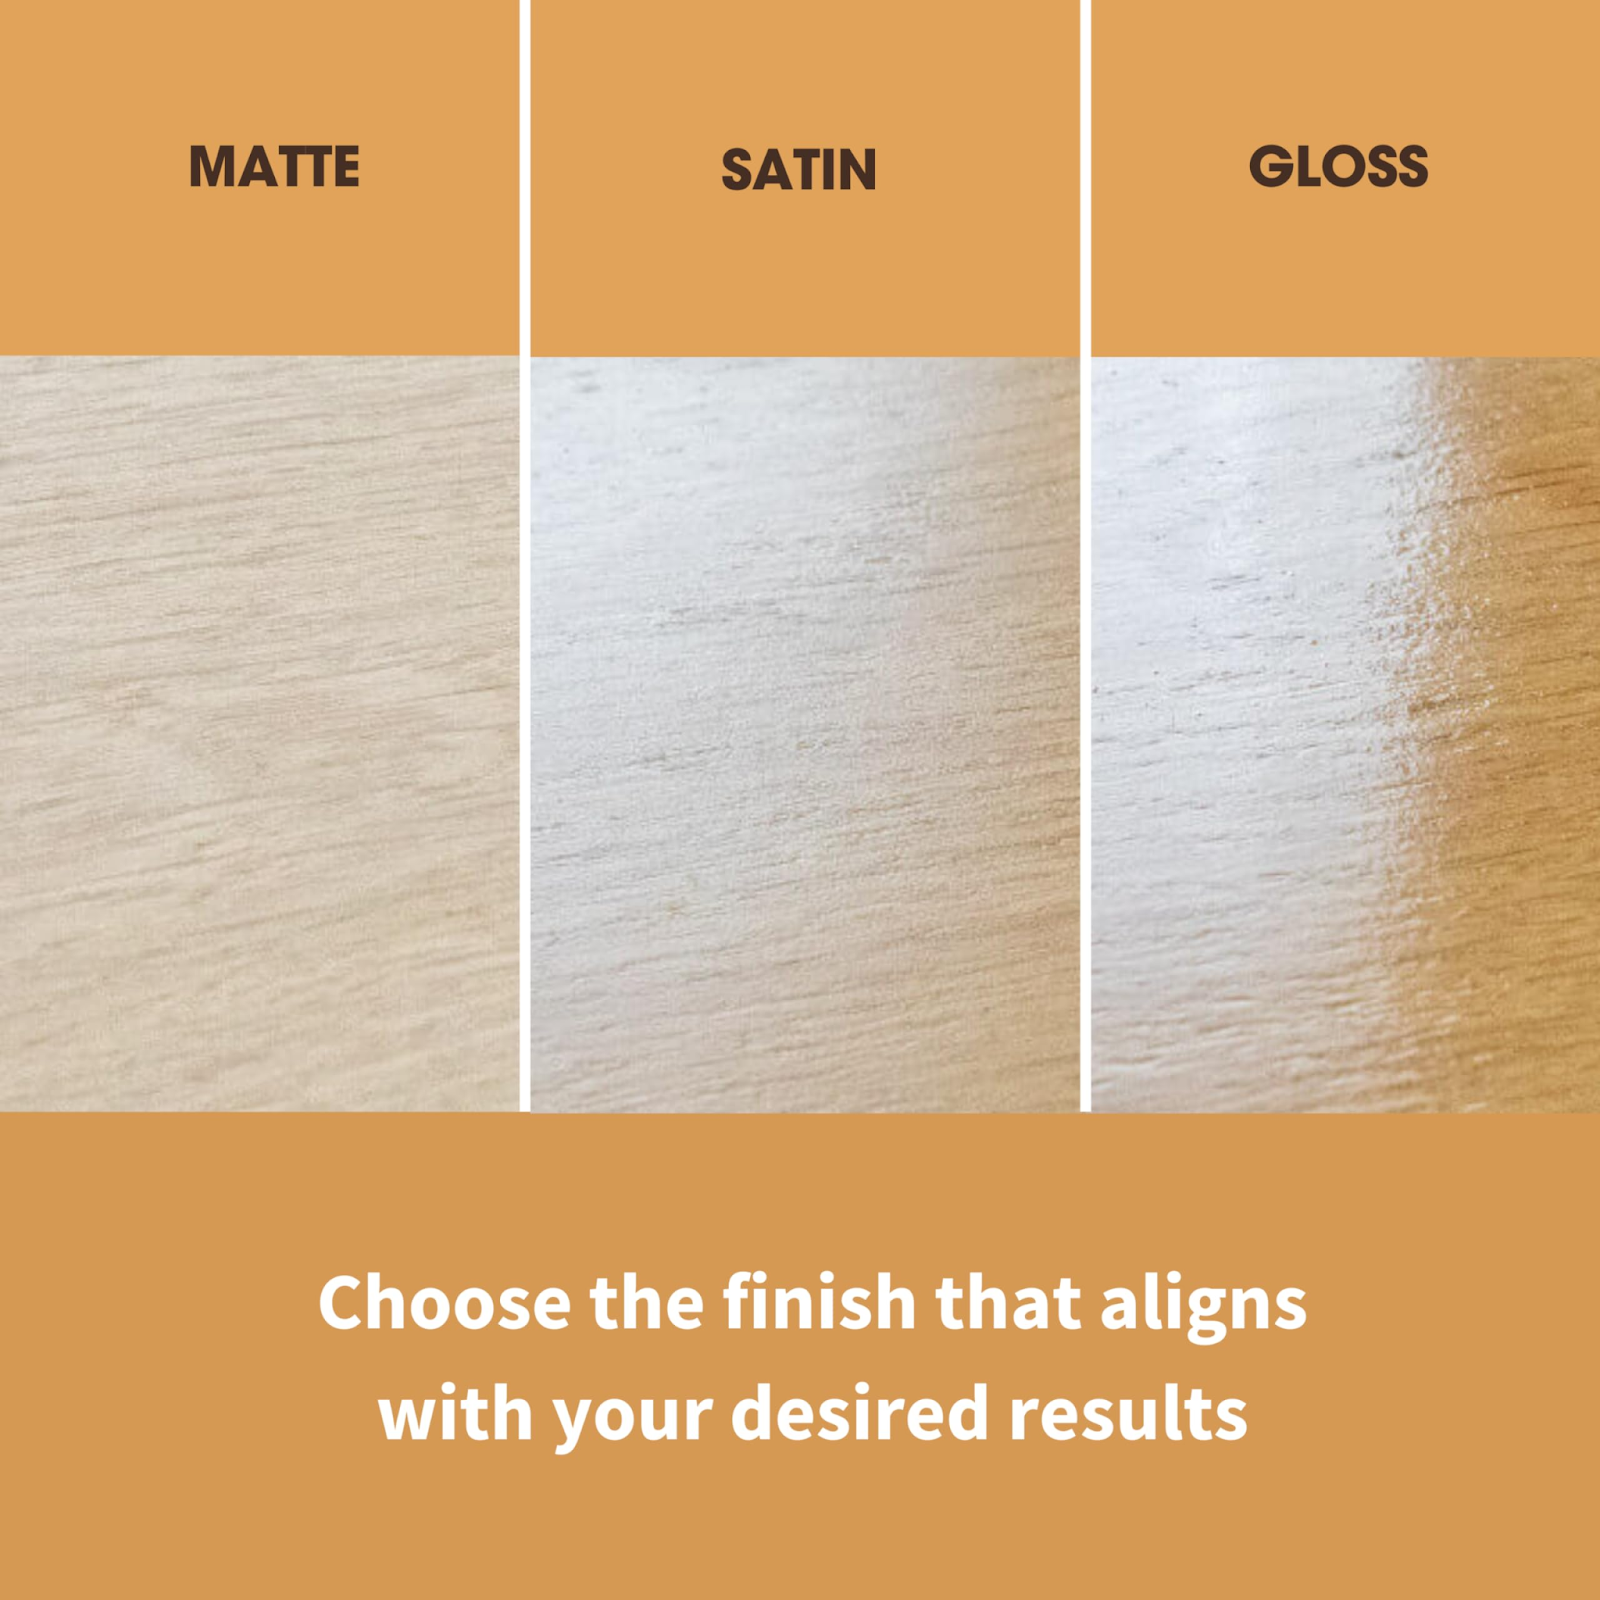
Choose between satin and glossy finishes for an exterior varnish. Satin offers a muted appearance, while glossy provides a reflective finish. Oil-based varnishes are favored for their durability and protective qualities against weather elements.
Oil-based varnishes provide enhanced durability and richer color depth than water-based options, making them an excellent choice for outdoor applications.
Applying Varnish in Coats
For optimal protection, apply at least 2-3 coats of varnish. Multiple layers of thin coats are more effective than fewer thick layers. Allow adequate drying time between each coat for a smooth finish.
Polyurethane varnish offers excellent protection against moisture and wear, though it tends to be pricier. This varnish is a great option if you want maximum durability for your restored door.
Reinstalling Hardware and Hanging the Door
With the door fully restored, reinstall the hardware and hang the door. This final step brings everything together and allows you to enjoy the results of your labor.
Polishing and Reattaching Hardware
Before reattaching the hardware, polish any brass fixtures to restore their luster. For example, use Brasso on a tarnished kick plate to enhance the door’s overall appearance.
After polishing, reattach the hardware to the door.
Rehanging the Door
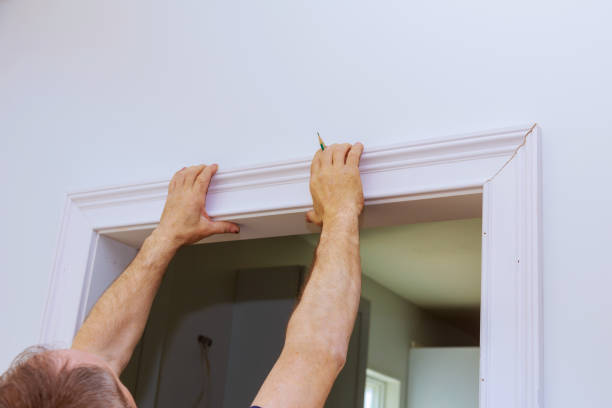
To rehang the door, ensure the hinges are aligned correctly for smooth operation. Once the door is properly hung, check that it opens and closes smoothly and that all hardware is securely attached.
This step completes the restoration process and allows you to enjoy your beautifully restored door.
Maintaining Your Restored Door
Regular maintenance keeps your restored door looking its best. Routine inspections and prompt issue resolution can extend the life of your door and maintain its beauty.
Regular Cleaning and Inspections
Seasonal inspections help identify wear and tear before they escalate into major issues. Check for signs like cracks or peeling finishes and address them promptly to maintain the door’s appearance and functionality.
Applying Additional Sealants
Reapply a topcoat sealant periodically to protect the wood from moisture and UV damage. Adding sealant every few years helps maintain the door’s surface integrity and prolong its life.
Enhancing Curb Appeal
A beautifully restored exterior door can significantly enhance your home’s curb appeal. Adding decorative elements and ensuring the wood door and exterior doors complement your home’s exterior creates a polished and cohesive look.
Adding Decorative Elements
Adding decorative elements such as unique doorknobs and knockers enhances the character and visual appeal of your restored front door. Distinctive doorknobs serve as a focal point, elevating the overall aesthetic of the door.
Consider various styles and materials for doorknobs and knockers to reflect your personal taste and enhance the door’s uniqueness.
Matching Your Home’s Exterior
To ensure your restored exterior wood door complements your home’s exterior, consider the wood grain and original finish when selecting a stain. Choose an exterior varnish that matches your design preference, whether satin or glossy. Enhancing the door’s curb appeal can significantly improve the overall attractiveness of your home.
Additionally, consider adding new hardware or decorative elements that align with your home’s exterior style for a unified look.
Summary
Restoring an old door is a rewarding project that can greatly enhance the beauty and value of your home. From preparing your workspace and gathering tools, to stripping old paint, making repairs, and applying stain and varnish, each step is crucial for achieving a professional finish. By following these steps, you can transform a weathered door into a stunning entryway that welcomes visitors with style.
Regular maintenance, including cleaning, inspections, and reapplying sealants, will ensure your door remains beautiful and durable for years to come. Adding decorative elements and matching your door to your home’s exterior further enhances its curb appeal. Take pride in your restored door and enjoy the satisfaction of preserving a piece of your home’s history.


