
Dealing with squeaky hinges or a door that won’t close properly? It’s frustrating, right? But the fix is simpler than you might think.
Replacing door hinges is an easy skill to learn. You don’t need to be a pro, and with a few tools, you can get the job done in no time. Whether it’s an old door hinge that’s rusted or loose, or you’re upgrading to new hinges for a fresh look, this guide has got you covered.
We’ll take you step-by-step through the process of removing the old hinges, preparing the door frame, and installing new hinges that fit perfectly. Along the way, we’ll share tips to handle stripped screw holes, hinge plates, and even squeaky hinge pins.
Sound good? Grab your tools, and let’s get started!

Tools and Materials You’ll Need When Replacing door Hinges
Before diving into replacing door hinges, make sure you’ve got the right tools and materials. Having everything ready will save you time and frustration during the project.
Essential Tools


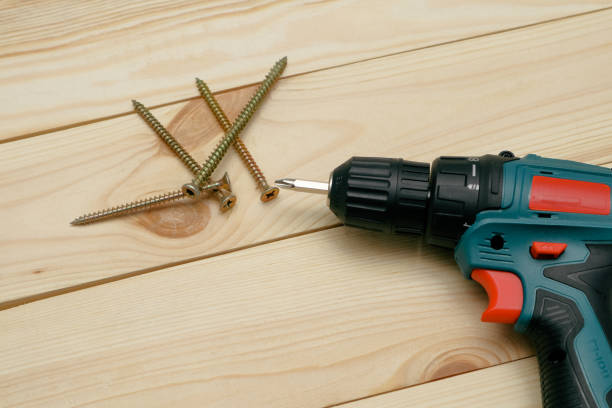
- Screwdriver or Drill
- For removing old hinges and installing new screws. A screwdriver gives more control, but a drill speeds up the process.
- Utility Knife
- To score around the old hinge plates for a clean removal.
- Chisel and Hammer
- For adjusting the mortise (the recessed area where the hinge sits) to fit new hinges. Use a very sharp chisel for precision.
- Tape Measure
- To ensure the hinges are positioned evenly along the door frame.
- Wedges or Blocks
- To support the door while you work. Place blocks underneath to keep the door steady.
Optional Tools

- Wood Filler or Putty
- For repairing stripped screw holes or filling gaps.
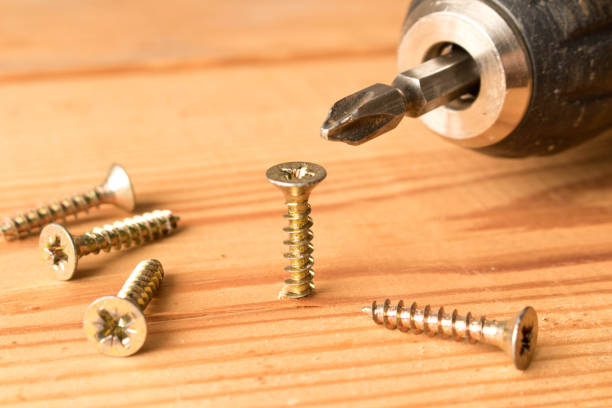
- Drill Bit (for Pilot Holes)
- To drill pilot holes for the new screws, ensuring they go in straight and don’t split the wood.
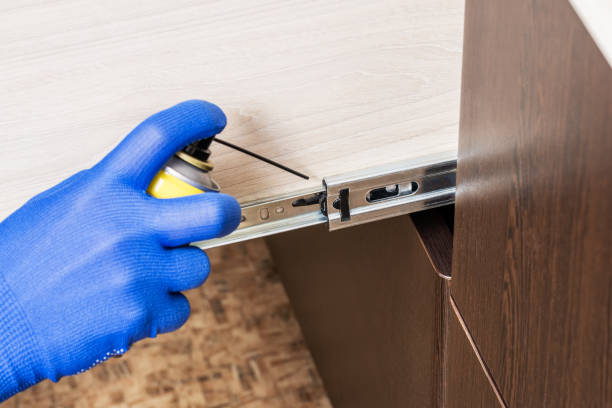
- Lubricant (e.g., Silicone Spray)
- To keep hinge pins moving smoothly and prevent squeaks.
Materials

- Replacement Hinges
- Choose hinges that match the size and style of your old hinges. Interior doors usually require two hinges, while heavier exterior doors might need three hinges for extra support.
- Screws
- Use the screws provided with your new hinges or opt for longer screws for added stability.
Quick Prep Tip: Lay out all your tools and materials in the workspace before starting. This will help keep the process smooth and organized.
Step-by-Step Guide to Replacing Door Hinges

Replacing door hinges is easier than you might think! Follow these simple steps to get your door swinging smoothly in no time.
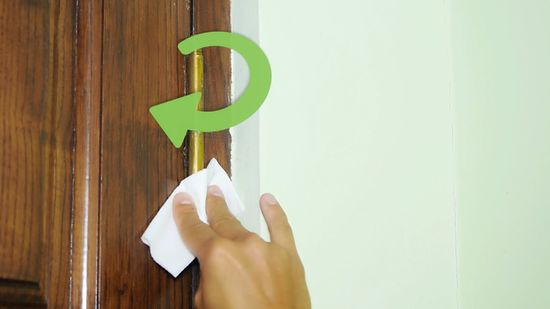
Step 1: Prepare the Workspace
Start by clearing the area around the door to give yourself enough room to work. Place blocks or wedges under the door to keep it stable and supported. This will prevent unnecessary stress on the hinge plates or screws while you work. Ensuring the door stays steady is key to making the job easier and safer.
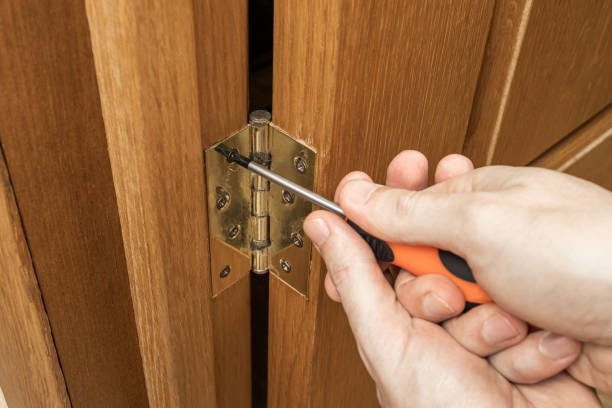
Step 2: Remove the Old Hinges
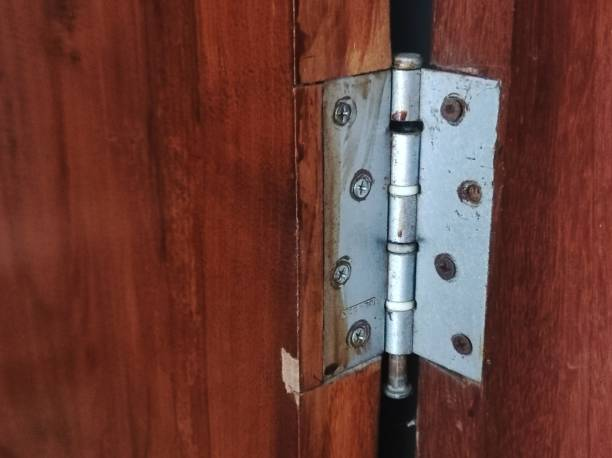
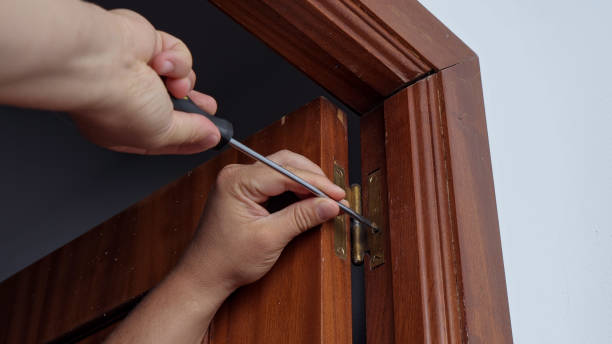
Begin with the bottom hinge. Removing this first reduces the strain on the upper hinge as you work. Use a screwdriver or drill to unscrew the hinge plates from both the door and the door frame. If you’re dealing with stripped screw holes or stuck screws, a utility knife or another small tool can help loosen them. Take your time here to avoid damaging the frame or the door.
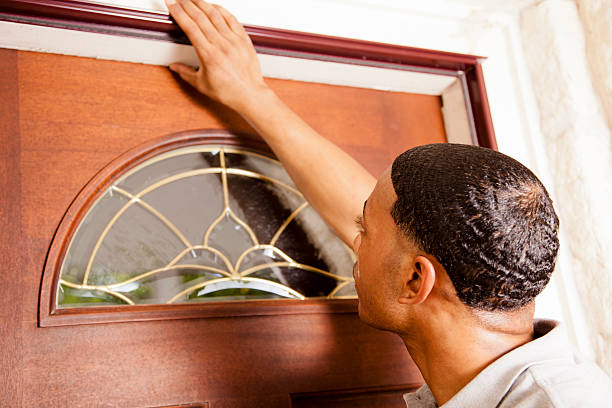
Step 3: Inspect and Prepare the Door and Frame

With the old hinges removed, take a close look at the screw holes and the mortises (the recessed areas where the hinges sit). If you notice stripped screw holes, fill them with wood filler or wood putty and let it dry completely. Sand the mortise to ensure it’s smooth and ready to fit the new hinges. Proper preparation ensures that your replacement hinges sit flush and securely.
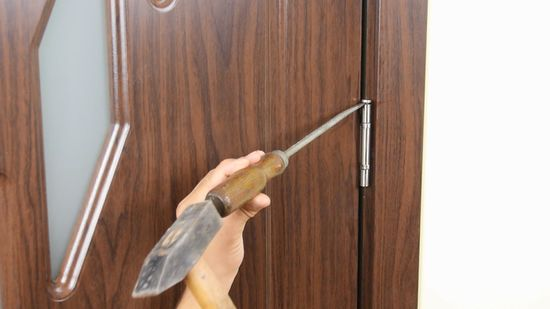
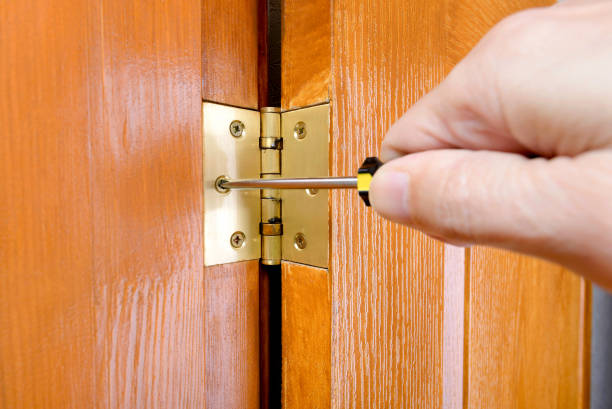
Step 4: Install the New Hinges on the Door
Step 5: Reattach the Door to the Frame
This part can be tricky without an extra set of hands, but it’s doable. Hold the door in position and attach the hinge plates to the door frame. Start with the top hinge to stabilize the door, then move on to the bottom hinge. Once all the screws are tightened, give the door a quick test by opening and closing it to check for alignment.
Step 6: Test and Adjust

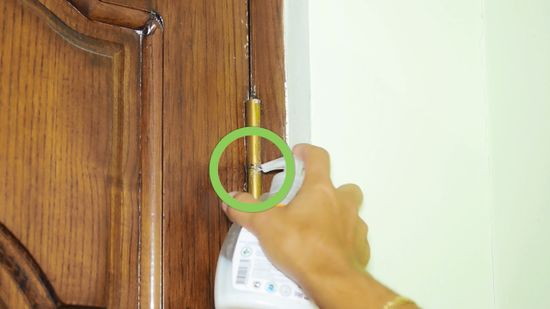
Open and close the door a few times to see how it moves. If the door doesn’t align properly or feels stuck, loosen the screws slightly and adjust the hinges. Once everything feels smooth, apply a small amount of lubricant to the hinge pins to keep them quiet and moving freely. For heavy doors, using three hinges instead of two will provide additional support and prevent sagging over time.
Quick Tip: Set a reminder to inspect your doors and hinges twice a year. Spring and fall are perfect times for a quick maintenance check.
Common Mistakes and How to Avoid Them
Even with a straightforward task like replacing door hinges, mistakes can happen. But don’t worry—most of them are easy to avoid if you know what to watch for. Here are the most common pitfalls DIYers face and how you can steer clear of them.

- 1. Misaligned Hinges: One of the biggest issues is not aligning the hinges properly with the door frame. If the hinge plates aren’t flush with the door or frame, it can cause the door to stick or not close properly. To avoid this, always double-check your measurements and use a sharp chisel to adjust the mortise if necessary. Taking an extra moment here can save you from a lot of frustration later.
- 2. Stripped Screw Holes: Stripped screw holes are a common headache when working with older doors. They can make it impossible to secure the screws tightly, leaving the door wobbly or unstable. To fix this, fill the damaged holes with wood filler or insert a small dowel before drilling new pilot holes. This creates a solid base for the screws to grip.
- 3. Using the Wrong Hinges: Not all hinges are created equal. Choosing hinges that don’t match the size or weight of your door can lead to functional issues or even damage to the door frame. Always make sure your replacing hinges are the same shape and size as the old hinges, and if you’re working with a heavy door, consider upgrading to longer screws or adding a third hinge.
- 4. Over-Tightening Screws: It’s tempting to tighten screws as much as possible, but over-tightening can strip the screw holes or even warp the hinge plates. To avoid this, tighten the screws until they’re secure but stop before you feel resistance. If you’re unsure, using a screwdriver instead of a drill can give you better control.
- 5. Skipping Pilot Holes: Drilling pilot holes might feel like an unnecessary step, but skipping them can cause the wood to split, especially near the edges. Always pre-drill small pilot holes before driving in the screws. This simple step will keep the door frame and screw intact.
- 6. Neglecting Hinge Pin Lubrication: After installing the new hinges, you might notice a squeak or resistance when opening the door. This happens when the hinge pins aren’t properly lubricated. Add a small drop of lubricant to the hinge pin to keep everything moving smoothly and quietly.
Quick Tip: If you’re ever unsure about your hinge alignment or screw placement, step back and open and close the door a few times. It’s easier to adjust as you go than to redo the entire process later.


