Master the art of painting interior doors with proven techniques. Achieve a professional finish and elevate your home’s look. Read more for expert tips!
Painting interior doors is an easy and affordable way to refresh your space. With a few simple steps, you can give your doors a modern, polished look that ties the room together. Let’s dive into everything you need to know to get a smooth, professional finish on your painted doors.
Preparing Your Door for Painting
Before you start painting interior doors, prepping the surface is key to a professional looking finish. A little extra effort in this stage will help your paint job last longer and look flawless.
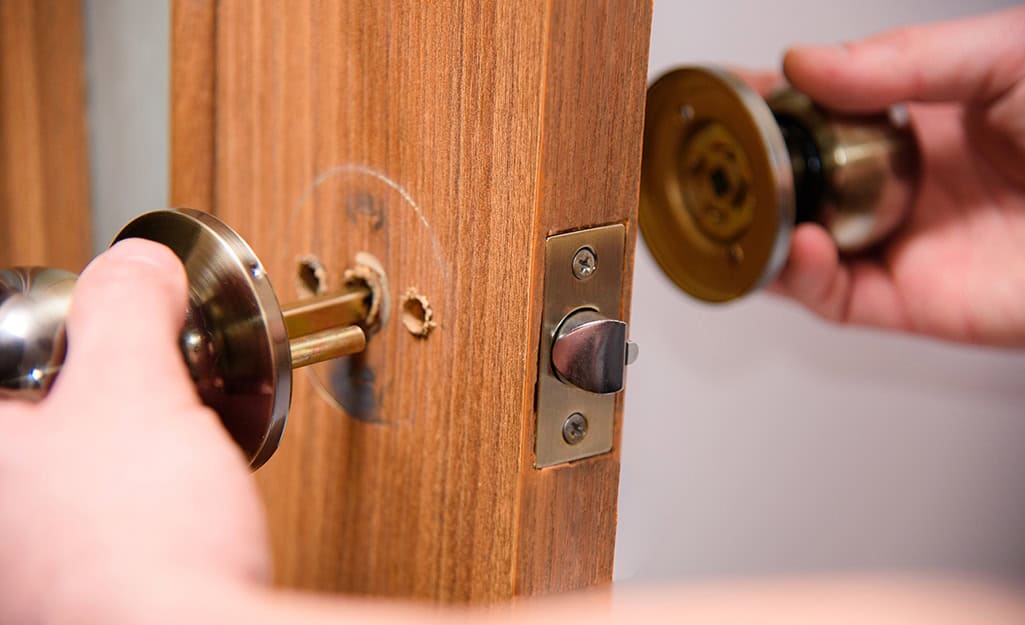

- Remove Door Knobs and Hinges
Start by taking off any door knob and door hinges. This makes it easier to paint the entire door without worrying about getting door paint on the hardware. If you prefer to keep the hardware on, cover it with painter’s tape to protect it from stray brush strokes. - Fill Imperfections with Wood Filler
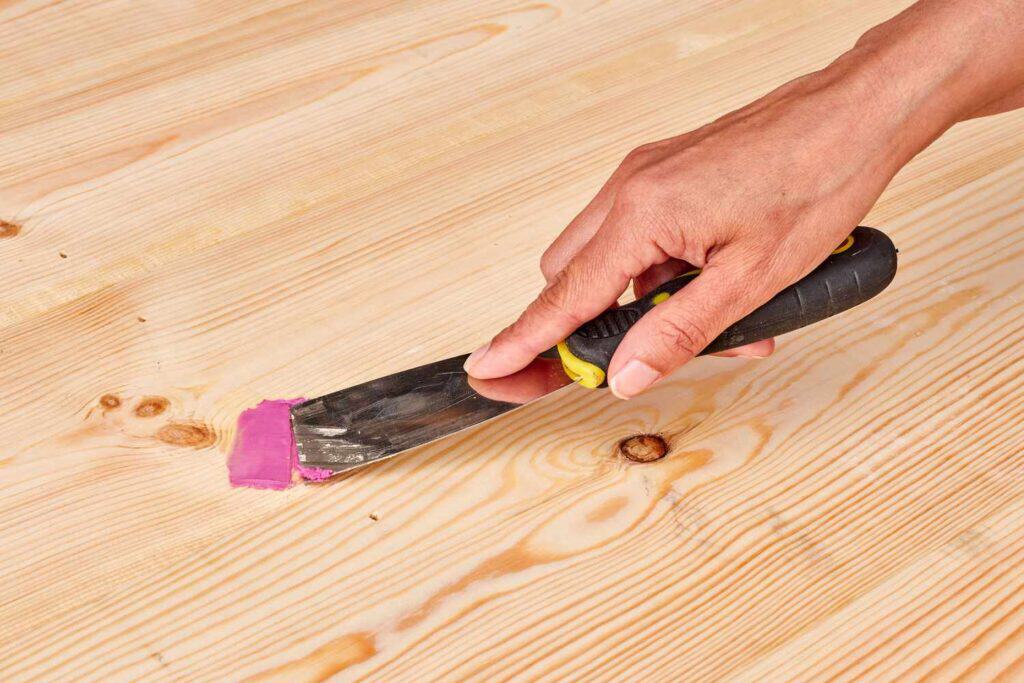
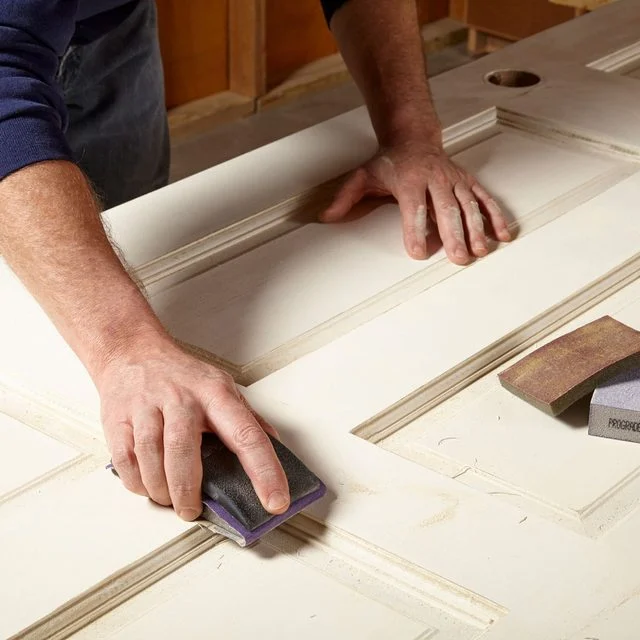
If your old door has gouges, dents, or holes, use wood filler to create a smooth surface. Apply the filler to the damaged areas, let it dry, and then sand it down until smooth. This step is especially helpful if your door has been through a lot of wear and tear over the years. - Lightly Sand the Door
Next, lightly sand the entire surface with a fine-grit sandpaper. Sanding gives the new paint something to grip onto and helps smooth out any remaining imperfections. Aim for an even finish without over sanding. - Remove Dust with a Tack Cloth
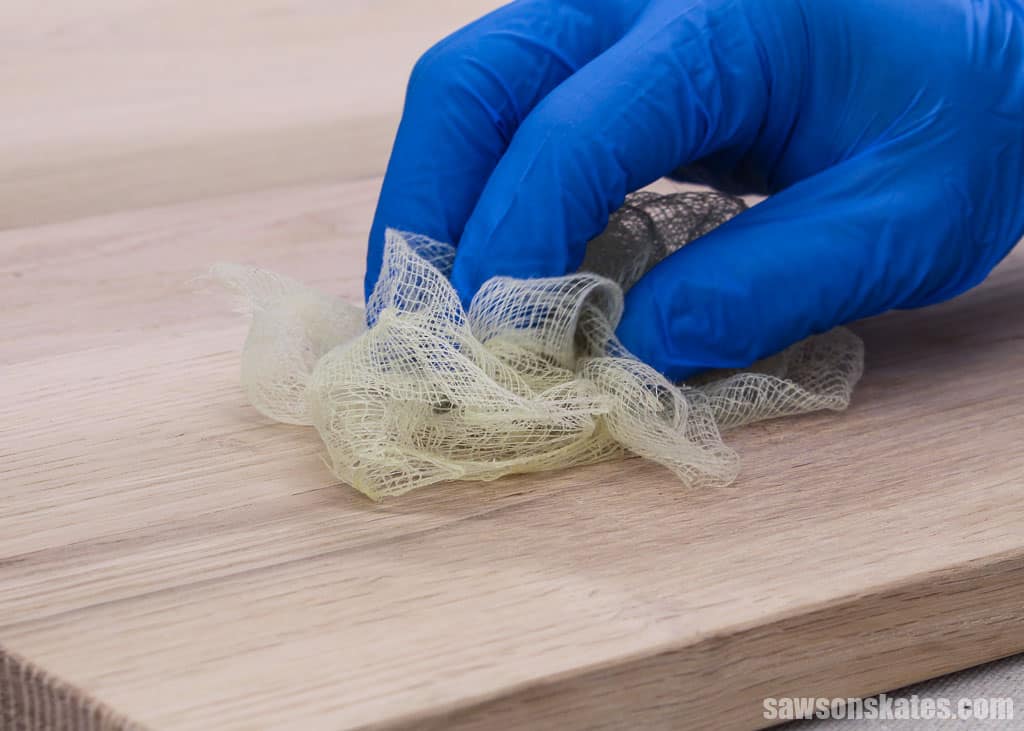
After sanding, use this to wipe away any sanding dust. This step ensures that dust doesn’t interfere with your paint job and helps you achieve a smooth finish. - Test for Lead Paint (If Necessary)
If the door was painted before the 1980s, or if it’s an old door it’s wise to test for lead paint before sanding. Lead testing kits are available at most hardware stores and can help keep your project safe.
Choosing the Right Paint and Color for Interior Doors
Selecting the right paint color and finish is essential for achieving a cohesive look in your space. Here are some tips to help you choose the best options for your interior doors.
Match the Trim for a Unified Look
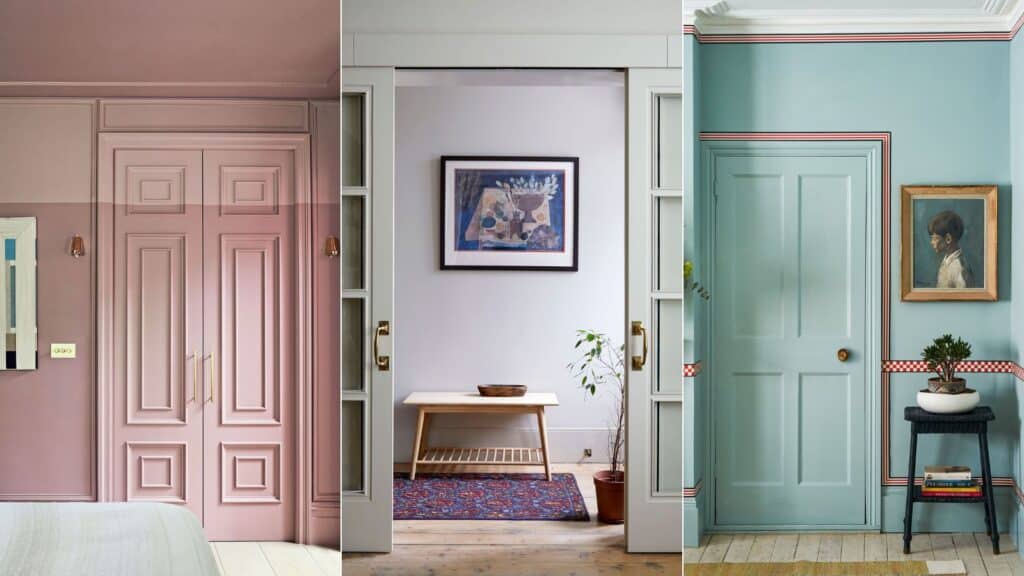
Using the same paint color and finish on your interior doors as you do on the trim can create a seamless, cohesive look. This is especially effective if you have white trim—it gives the room a clean, polished finish that’s easy on the eyes.
Popular Paint Colors
Some paint colors are classics for interior doors. For example, Benjamin Moore colors like Cloud White and Simply White are popular choices for trim and doors alike, adding a soft and welcoming touch to your space. If you’re aiming for a modern or dramatic look, consider a dark gray or even black door paint; these colors create a beautiful contrast and can add depth to the room.
Choose a Durable Finish
For painted doors, a semi-gloss or satin finish is ideal. These finishes are durable, easy to clean, and have just enough sheen to make your door stand out without looking too glossy. If you want a more resilient option, Benjamin Moore Advance paint is also highly recommended for its durability and smooth finish.
Consider the Overall Room Color Scheme
Think about the other colors in the room when choosing your paint color. Whites and light-to-mid tone grays are versatile and popular choices for interior doors, fitting well with many color schemes and styles. If you’re repainting multiple doors in your home, sticking to a similar color palette can help create a harmonious flow throughout the space.
What You’ll Need
Equipment / Tools
- Cordless Drill or Manual Screwdriver: For removing door hardware.
- Drop Cloth: Protects floors from paint drips and splatters.
- Utility Knife: Great for cleanly cutting painter’s tape around hinges or detailed areas.
- Sanding Sponge: Helps create a smooth surface by lightly sanding the entire door.
- 4-Inch Foam Roller Set: Ideal for applying even coats on flat surfaces.
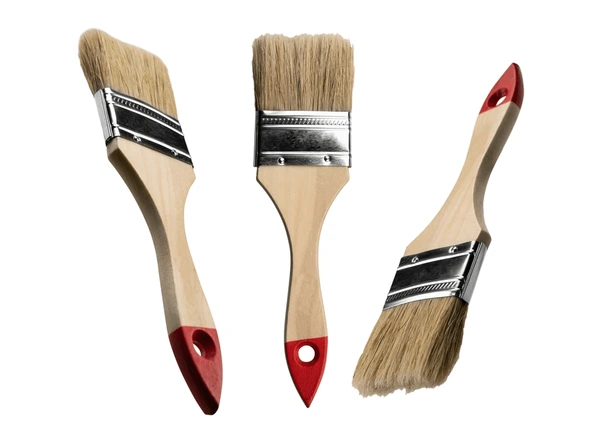
- Paintbrush: Angled paint brushes works well for edges and detailed areas.
- Paint Tray and Liner: Holds paint for easy access while working.
- Shop Vacuum: Clears away dust and debris from sanding.
- Hammer and Nail: Useful for repairing minor dents or securing loose areas on the door.
- Soft Towel (Optional): To wipe down surfaces or remove dust after vacuuming.
- 2 Sawhorses: Provides a stable setup if you choose to remove the door for painting.
Materials
- Interior Acrylic-Latex Paint: Offers durability and a even finish.
- Primer (Optional): For a fresh base, especially if changing colors or painting over a dark surface.
- Tack Cloth: Essential for removing sanding dust and debris.
- Painter’s Tape (Optional): Protects door hinges, door knobs, and surrounding areas for clean, sharp lines.
Step-by-Step Guide to Painting an Interior Door
Now that your interior door is prepped and your paint supplies are ready, it’s time to start painting doors. Follow these steps for a smooth, even finish across every part of the door.

Step 1: Paint the Edges First
- Begin by painting the edges of the door. Use an angled paint brush for better control, ensuring that you don’t accidentally get paint on the surrounding surfaces.
- Painting the edges first also prevents drips on the flat surfaces later on.
Step 2: Use a Small Roller for Flat Surfaces
- For the larger, flat areas, switch to small rollers or foam rollers. This tool helps apply an even coat without brush marks.
- Start from the top of the door and work your way down, using thin coats for a smooth, polished look.
Step 3: Paint the Vertical Strips in the Center (If Paneled)
- If your door has a paneled design, begin by painting the vertical strips in the center. This technique avoids overlaps and keeps the paint looking even.
- Use foam rollers for larger areas and a brush for smaller sections or grooves.
Step 4: Move to the Horizontal Rails
- Next, paint the horizontal sections, or “rails,” of the door. A roller will give you smooth, consistent coverage across these areas.
- Apply multiple light coats to prevent excess paint buildup, giving your paint job a polished finish.
Step 5: Finish with the Vertical Strips on the Sides of the Door
- Finally, paint these strips along the sides of the door to tie the whole paint job together.
- This approach ensures a seamless finish with consistent coverage on all parts of the door.
Specialized Painting Techniques
To achieve a truly professional look on your interior doors, consider using some specialized techniques. These methods can help you get smooth, consistent results:
- Use an Angled Paint Brush for Edges and Corners
This brush is ideal for painting the edges and corners of the door. The angled bristles allow you to work with precision in small or tight areas, ensuring even coverage without overlapping onto other parts of the door. This is especially useful when painting paneled doors where there are recessed areas that a roller can’t reach. - Apply Paint on Flat Surfaces with a Foam Roller
A roller is your best friend for the flat sections of the door. This tool helps spread the paint evenly without leaving brush marks. Foam rollers are especially helpful when applying multiple light coats, allowing each coat to dry smoothly and giving you that glossy and sleek finish every time. - Consider a Paint Sprayer for a Pro Finish
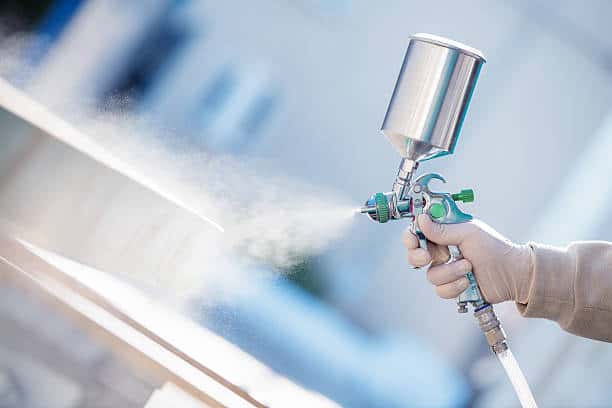
If you want an ultra-smooth, factory-like finish, a paint sprayer can be a game-changer. While not essential, a sprayer gives a flawless, even coat on the entire door in record time. Make sure to practice on a scrap surface first if you’re new to paint spraying. Also, spray in a well-ventilated area to control overspray.

Taping and Masking for a Professional Finish
To get clean lines and protect areas you don’t want painted, effective taping and masking are essential. Here’s how to use painter’s tape and other techniques to ensure a neat, polished look on your interior door.

1. Apply Painter’s Tape to Protect Hardware
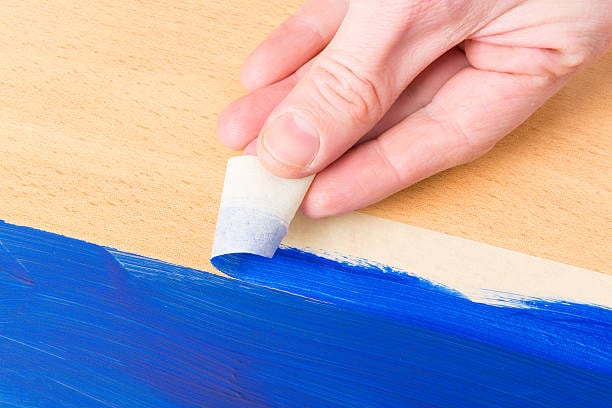
Cover door hinges and door knobs with painter’s tape to keep them free of paint. This will save you time and effort when it comes to cleanup, giving you crisp, clean lines around the hardware.
2. Seal the Tape for Clean Edges
Once the tape is applied, brush a very thin layer of paint along the edges of the tape to “seal” it. This technique prevents paint from seeping under the tape and ensures you get sharp, clean lines when it’s removed.
3. Remove Tape While the Paint is Still Wet
For the best results, carefully peel off the painter’s tape while the paint is still wet. This reduces the chance of peeling paint along with the tape, leaving you with a smooth edge. Use a utility knife to score along the tape edge if the paint has started to dry to avoid any unwanted lifting.
Proper taping and masking make a big difference in achieving that professional, seamless paint job on your door.
Working Efficiently and Safely
Painting your interior door is a rewarding project, but it’s essential to keep safety and efficiency in mind. Here are some tips to help you work smoothly and safely.
- Work in a Well-Ventilated Area
Good ventilation is key when working with paint. Open windows or use fans to help disperse fumes and speed up drying. If you’re using oil-based paint or a paint sprayer, ventilation becomes even more critical to ensure you’re not inhaling fumes. - Use a Ladder or Step Stool for Hard-to-Reach Areas
When painting the top part of the door or any high areas, use a stable ladder or step stool. This helps you maintain control and reach every part of the door without overextending, ensuring consistent coverage and reducing the risk of spills or missed spots. - Wear Gloves and Protective Eyewear
To prevent splatters on your skin or in your eyes, wear protective gear. Gloves keep your hands paint-free, and protective eyewear shields your eyes from any unexpected drips, especially when working on the vertical strip or edges of the door.
Sanding and Recoating for Optimal Coverage
To get that flawless, pro-level paint job on your interior door, lightly sanding between coats and applying a second coat is key. Here’s how to make sure each coat looks as smooth and even as possible.
- Lightly Sand the Door Between Coats
After the first coat has fully dried, use 320-grit sandpaper to lightly sand the entire surface of the door. This step helps to remove any tiny bumps or rough spots and prepares the painted door for the next layer. Light sanding also ensures better adhesion for the next coat of paint, making the finish more durable. - Remove Sanding Residue with a Tack Cloth
Use this to wipe away any dust or sanding residue from the door. Removing all dust particles before applying the next coat will help you achieve a smooth, professional look without any unwanted texture or buildup. - Apply a Second Coat of Paint
Once the door is dust-free, apply a second coat of paint, using the same techniques as before. For the flat surfaces, stick with a foam roller for an even finish, and use an angled paint brushes for edges and recessed areas. Multiple light coats are better than one heavy coat, so avoid overloading your brush or roller.
Shortening the Drying Time
Sometimes, waiting for paint to dry can feel like watching grass grow. Here are some quick and effective ways to speed up the drying process and keep your painting project moving along smoothly.
- Use a Fan to Increase Air Circulation
Set up a fan nearby to improve airflow around the door. This can significantly cut down on drying time, especially if you’re working in a room without much natural ventilation. Aim the fan towards the painted door to help the fresh coat dry faster. - Apply Thin Layers to Avoid Long Drying Times
Applying thin coats of paint dries much faster than heavy coats. Multiple light coats also give a smoother finish and help you avoid drips or uneven drying, which can happen when there’s too much paint on one area. - Use a Hair Dryer on a Low Setting
If you’re really in a pinch, use a hair dryer on the lowest heat setting to help dry smaller areas of the door quickly. Hold it at a safe distance to avoid overheating or causing the paint to bubble.
Reassembly and Final Inspection
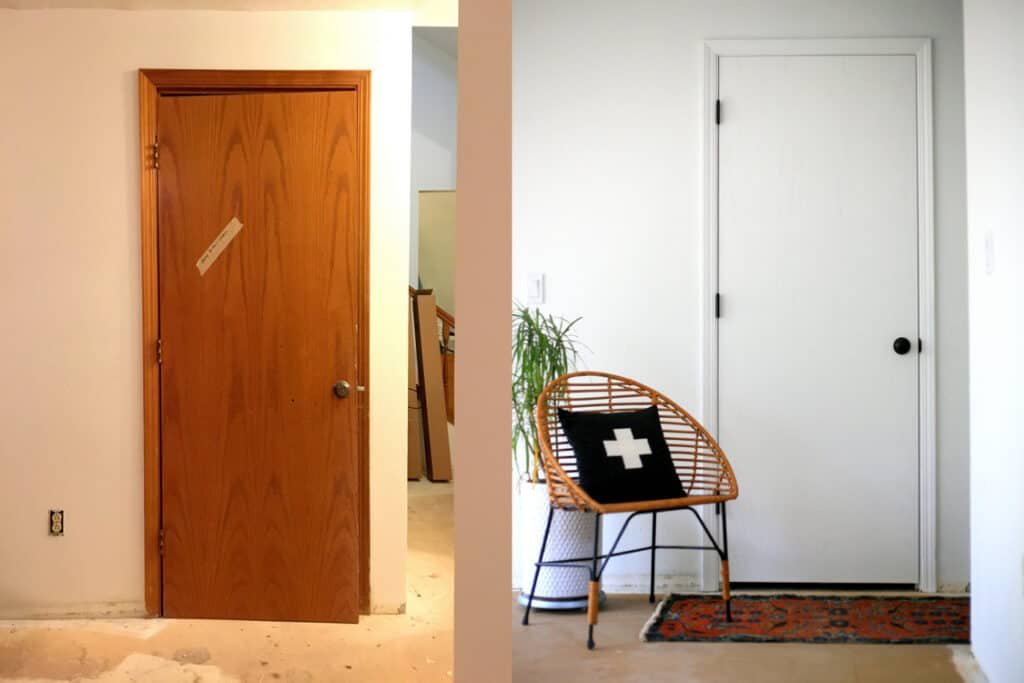
Once your painted door is fully dry, it’s time to put everything back together and check for any final touch-ups. This step will give your interior door a polished, finished look that’s ready for everyday use.
- Reattach Door Knobs and Hinges
Carefully reattach the door knobs and door hinges that were removed before painting. If you had them covered with painter’s tape, remove it carefully to avoid peeling any of the fresh coat around the hardware. Make sure each piece is secure, as this will add to the overall durability of your paint job. - Inspect for Any Imperfections
Take a close look at the door from all angles to spot any areas that may need a little touch-up. Sometimes, small imperfections or uneven spots only become noticeable after everything is reassembled. If needed, use a small brush to correct any tiny areas. - Consider Applying a Clear Coat for Extra Protection
If your door is in a high-traffic area or you want additional durability, consider applying a clear coat of protective finish. This can help protect the painted door from scratches and wear over time, especially if it’s in a busy part of your home.
Tips for a Successful Paint Job
- Use Quality Supplies
High-quality paint and tools give better coverage, fewer brush marks, and a longer-lasting finish. - Follow Instructions
Read and follow the directions on all products for the best results and drying times. - Work in Good Lighting
Proper lighting helps you spot imperfections and get even coverage. - Take Your Time
Don’t rush, apply multiple thin coats and let each layer dry fully for an even finish. - Save Leftover Paint
Store leftover door paint for future touch-ups. Label the can with the room and color to make future repairs easier.
Frequently Asked Questions (FAQs)
1. What type of paint should I use for interior doors?
Semi-gloss or satin latex paint works best. It’s durable, easy to clean, and gives a subtle sheen. Oil-based paint is an option but takes longer to dry.
2. Should I remove the door before painting?
Removing it helps with an even finish, but you can paint it in place with painter’s tape to protect nearby surfaces.
3. Do I need to sand the door before painting?
Yes, sanding helps the paint stick better and smooths out imperfections.
4. How do you paint interior doors without brush marks?
Use a foam roller for flat areas, apply thin coats, and lightly sand between layers.
5. How long should I wait between coats?
Wait 4-6 hours between coats, or follow the paint’s instructions for best results.
6. Can I paint over existing paint without priming?
Yes, if the current color is similar. For big color changes, use a prime but you can skip this step for new doors that are pre-primed.
7. How do I maintain my freshly painted door?
Wipe with a damp cloth occasionally and avoid harsh cleaners.
8. Is it better to paint an interior door with a brush or a roller?
Use a foam roller on flat areas and an angled brush for edges and corners.
9. How do you get the best finish when painting a door?
Prep thoroughly, use high-quality paint, and apply multiple thin coats, sanding between each.


