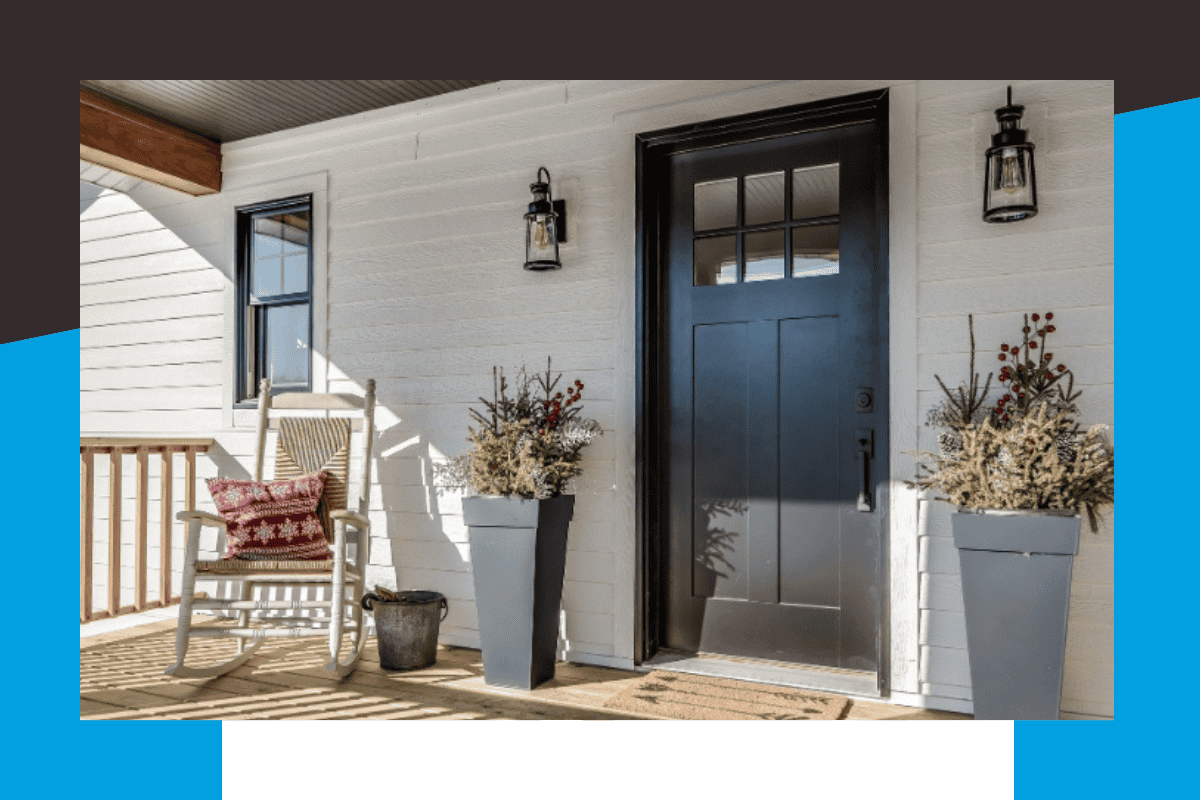
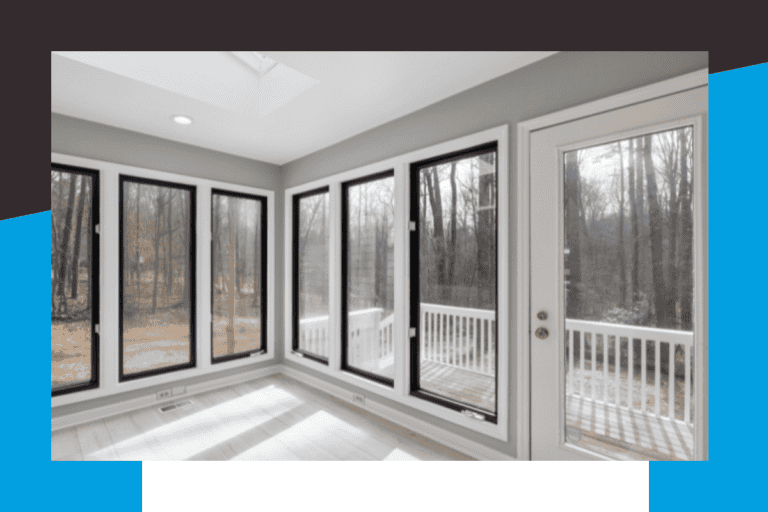
Painting your front door is one of the simplest ways to make a bold statement and give your home an instant refresh. Whether you’re sticking with the same color or ready to try something new, a fresh coat of paint can transform your entry into a grand entrance.
Worried about brush marks or drips? Don’t be. With the right supplies and a step-by-step plan, painting front door is a project you can successfully paint yourself. This guide will show you how to achieve a smooth, professional finish without overcomplicating things. Let’s get started!

Home Hardware
What Kind of Paint is Best for a Front Door?
Choosing the best paint for a front door is crucial for durability and style.
Exterior Paint
- Use exterior-grade paint for durability against weather and wear.
- Choose between latex paint (water-based) for faster drying or oil-based paint for a harder finish.
Finish Options
- Semi-gloss or high-gloss finishes are ideal for front doors because they’re resistant to scuffs and stains.
Consider Climate
- For homes in extreme climates, invest in high-quality exterior paint brands like Benjamin Moore or Sherwin Williams.
Quick Note on Primer
- If switching from a dark to light color or painting bare wood, use a primer for better coverage and longevity.
Considerations Before You Get Started
Before diving into painting your front door, it’s important to plan ahead. A little preparation goes a long way in ensuring a professional finish.
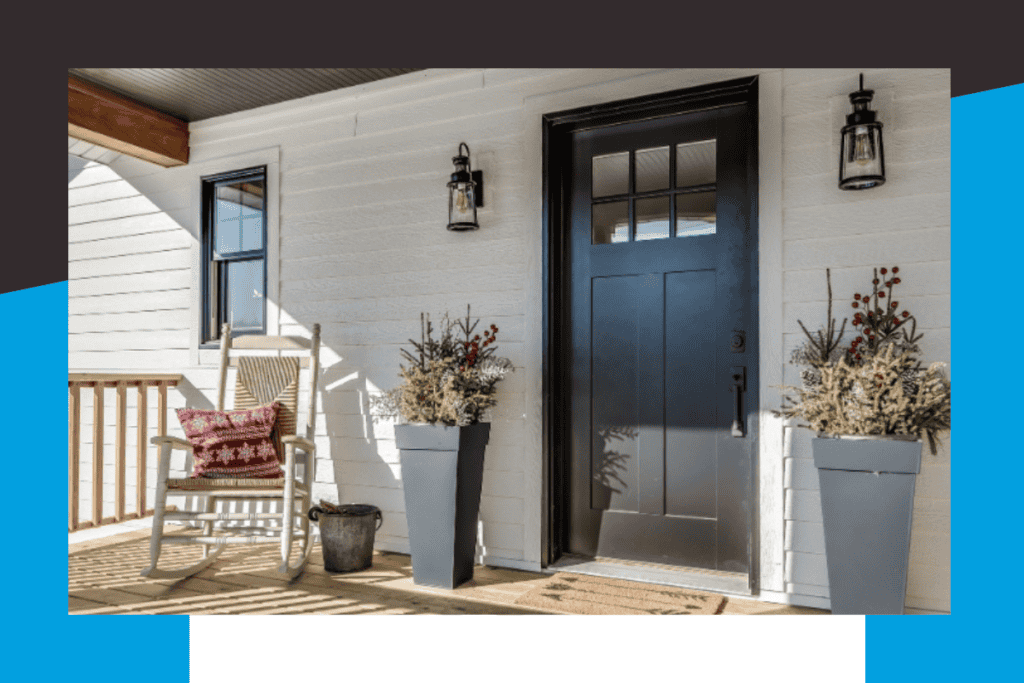
1. Assess Your Door’s Condition
Take a good look at your door. Is the old paint peeling? Are there cracks, dents, or other damage that might need fixing? If so, you’ll need to address these issues before applying a fresh coat.
Also, decide if you’ll paint the door while it’s still on its hinges or remove it. Removing it can make the process easier but requires extra time and space to lay it flat.
2. Think About Color and Style
What vibe are you going for? Bold and dramatic? Clean and neutral? Your paint color should complement your home’s exterior. A pop of color like red or teal can add personality, while classic black or white keeps things timeless.
If you’re feeling unsure, test a few swatches on the door first. Seeing how the color looks in different lighting can help you decide.
3. Decide on the Finish
The finish of your paint matters as much as the color. A semi-gloss finish is a popular choice because it’s durable and easy to clean—perfect for a high-traffic area like a front door. High gloss works too, giving your door a modern, polished look.
4. Budget and Time
Most front doors only need a quart of paint for two thin coats. Keep that in mind when choosing your supplies to avoid overspending. Plan for a weekend to complete the project, giving yourself enough time for prep, painting, and drying.
5. Tools and Supplies
Gather everything you’ll need before starting:
- Exterior Paint: Opt for high-quality, exterior-rated paint, such as latex paint, for durability.
- Brushes: Use an angled brush for detailed areas.
- Roller: A foam roller helps ensure smooth, even coverage.
- Painter’s Tape: To protect hardware and glass.
- Fine-Grit Sandpaper: To smooth the surface before painting.
- Drop Cloths: To keep your work area clean.
Preparation is Key
1. Choosing the Right Time
Timing matters when painting your front door. For best results, aim to work when the temperature is between 65°F and 70°F, with low humidity. Avoid painting in direct sunlight or on windy days, as these conditions can cause the paint to dry unevenly.
2. Gathering Supplies
Make sure you have everything you need before starting:
- High-Quality Exterior Paint: Opt for a semi-gloss or high-gloss finish for durability and easy cleaning.
- Brushes: An angled brush for detailed areas and edges.
- Rollers: Use a foam roller for smooth, streak-free application.
- Painter’s Tape: To protect hardware and glass from accidental paint marks.
- Sandpaper: Use 120-grit and 220-grit sandpaper to smooth the surface.
- Drop Cloths: Keep your work area clean and protect the floor.
- Primer (if needed): Essential for bare wood or transitioning from a dark to a light color.
3. Cleaning and Prepping the Door
Preparation is everything:
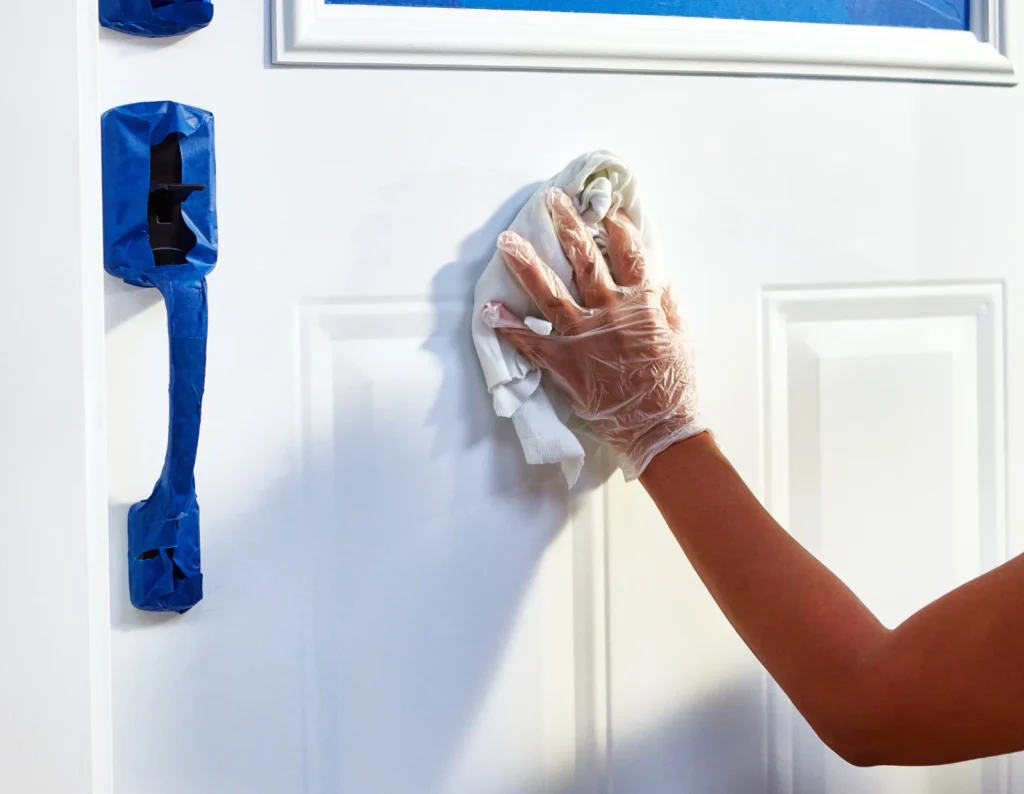
- Clean the Door: Use mild detergent and water to remove dirt, grime, and oils. Wipe down thoroughly.
- Lightly Sand: When sanding door paint se fine-grit sandpaper or a sanding sponge to remove any old paint sheen and smooth imperfections.
- Fill Imperfections: Use wood filler and a putty knife to fix cracks or dents. Sand the filled areas once dry.
- Use a Tack Cloth: Wipe the door with a tack cloth to remove dust and debris.
- Prime if Necessary: For bare wood or transitioning from a dark to a light color, apply a primer to ensure better coverage and a vibrant finish.
The Painting Process
1. Removing or Protecting Hardware
Home Hardware
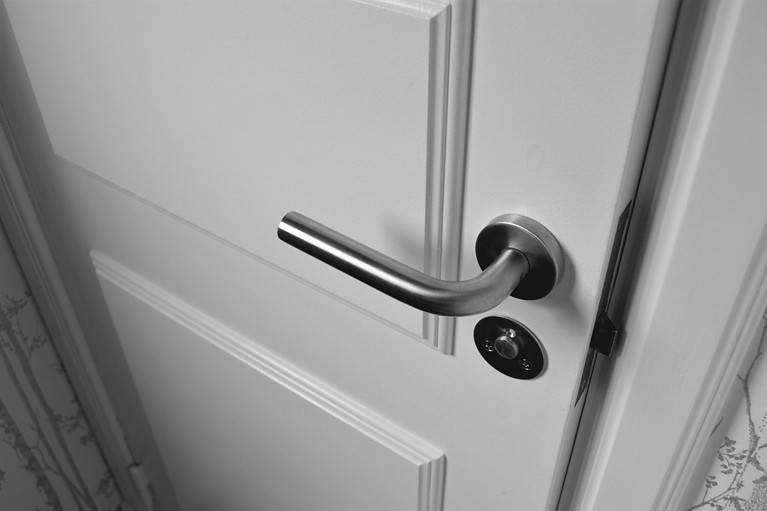
For a seamless finish, remove all hardware such as door handles, locks, and hinges. If removal isn’t feasible, cover it with painter’s tape to protect it from paint marks.
2. Painting Order Matters
Painting in the right order makes a big difference:
House Digest
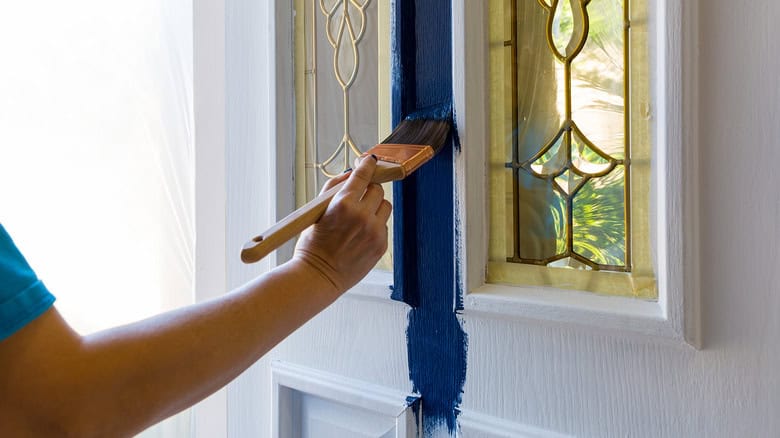
- Edges First: Use an angled brush to carefully paint the edges of the door. This ensures precise coverage and prevents smudges on the main panels later.
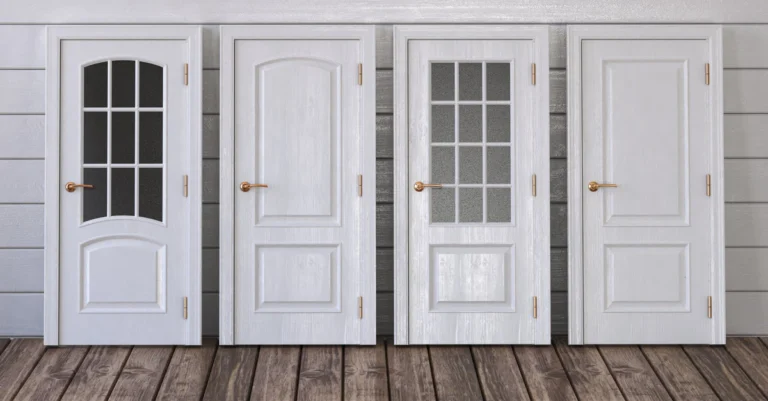
- Recessed Panels: If your door has panels or detailed areas, paint these next with the angled brush for precision.
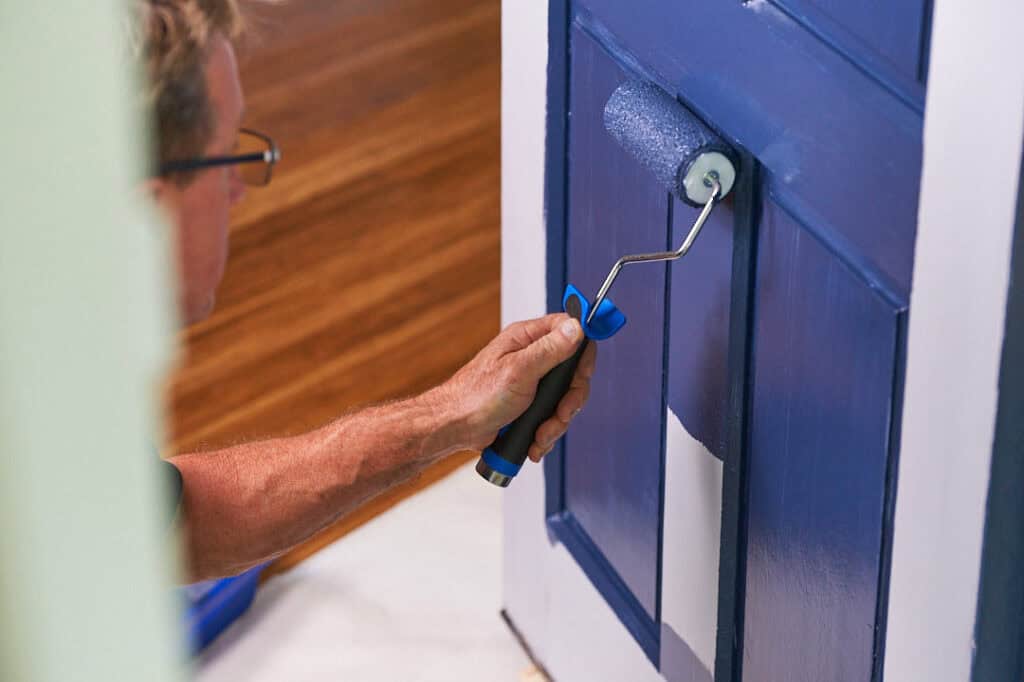
- Flat Surfaces: Use a mini roller to cover larger, flat areas. A foam roller helps achieve a smooth, streak-free finish.
3. Apply Thin Coats
Thin, even coats are key to avoiding drips and streaks:
Monarch
- Start with the first coat and allow it to dry completely before applying additional layers.
- Apply a second coat for vibrant, even coverage.
- Avoid thick coats, as they can lead to drips and uneven drying.
4. Finishing Touches
Once the first coat is dry:
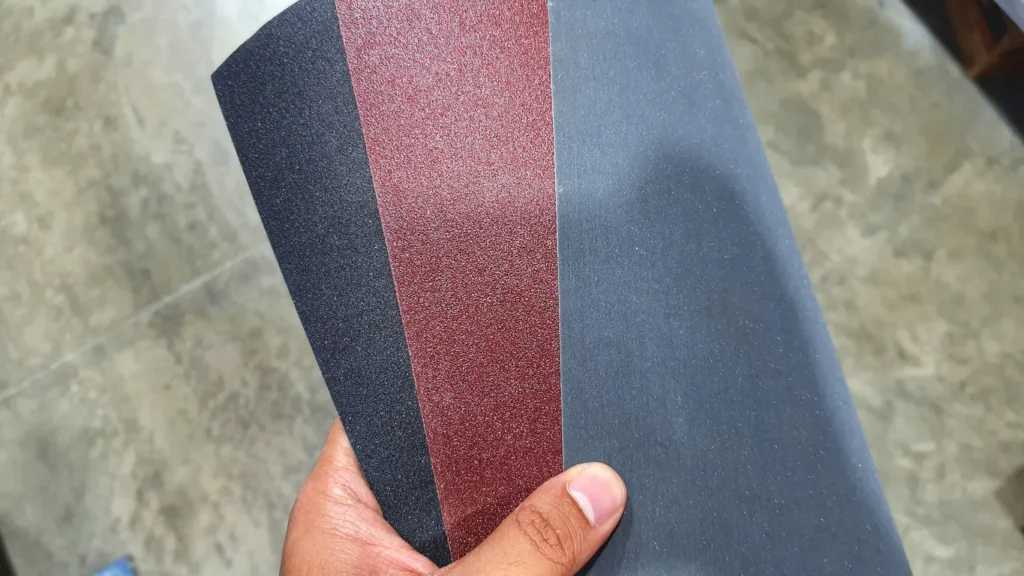
- Lightly Sand: Use fine-grit sandpaper to smooth out any imperfections between coats.
- Apply a Second Coat: Repeat the process for even, vibrant coverage. For the best results, aim for 2-3 coats.
Additional Considerations
Painting the Sides and Trim
- Paint the inside and outside of the front door the matching color for continuity.
- Ensure the sides match the fresh coat of paint.
- Coordinate the door frame with the door color for a cohesive appearance.
Avoiding Brush Marks and Streaks
- Use a foam roller to smooth out brush marks.
- Work in small sections and maintain even coverage.
- A semi-gloss finish reduces visible brush marks.
Post-Painting Steps
1. Drying and Reassembly
Allow your door to dry before reattaching any hardware or using it. This prevents smudges or accidental damage to the fresh paint. Refer to the paint manufacturer’s guidelines for full drying times.
- Carefully Remove Painter’s Tape: Peel off the tape slowly at an angle to avoid peeling away any paint. Doing this while the paint is still slightly tacky can help achieve a clean edge.
- Reattach Hardware: Once the paint is fully dry, reinstall the handles, locks, and other hardware. Ensure everything is securely in place for a polished look.

2. Inspect for Imperfections
Before calling it a day, carefully inspect the door for any missed spots, uneven paint, or imperfections. Use a small brush to touch up these areas for a flawless finish.

Expert Tips for a Pro Finish
1. Color Choice
Choose a bold or vibrant paint color to make your front door stand out. If you prefer a subtle look, select a neutral tone that complements your home’s exterior. Test swatches in natural light to see how the color looks throughout the day.
2. Tool Quality
Invest in high-quality brushes and rollers for better coverage and fewer streaks. A good foam roller and angled brush can make all the difference in achieving a smooth finish.
3. Weather Considerations
Avoid painting during extreme heat, cold, or humidity. These conditions can affect how the paint dries and adheres. Choose a mild day for the best results.
4. Optional Sealant
For extra protection against the elements, apply a clear weatherproof sealant once the paint has fully cured. This can help extend the life of your paint job and keep your door looking fresh.
Common Mistakes to Avoid
1. Skipping Preparation
Failing to clean, sand, or prime the door can lead to poor paint adhesion and an uneven finish. Proper preparation is essential for professional results.
2. Applying Thick Coats
Thick coats may seem like a time-saver, but they often result in drips, streaks, and longer drying times. Stick to thin, even coats for the best outcome.
3. Painting in Unfavorable Weather
Painting in extreme heat, cold, or high humidity can cause the paint to dry unevenly or not adhere properly. Always check the weather before starting your project.
4. Rushing the Process
Skipping steps or rushing between coats can lead to a less-than-perfect finish. Take your time and follow the drying times recommended by the paint manufacturer.
Maintenance and Upkeep
- Clean Regularly: Wipe down the door with a mild detergent to keep it looking fresh.
- Touch Up Chips and Scratches: Use leftover paint for quick touch-ups.
- Repaint as Needed: Consider repainting every 5-7 years to maintain curb appeal.
Conclusion
Painting your front door is a rewarding project that can completely transform your home’s curb appeal. By taking the time to properly prepare, choosing the right tools and paint, and following these detailed steps, you’ll achieve a professional-looking finish that lasts.
Not only will your freshly painted front door make a grand entrance, but it will also reflect your personal style and add value to your home. So grab your supplies, pick your favorite paint color, and get started. Your home’s new look is just a few brush strokes away!
